How to Clean Your Graphics Card Safely and Effectively
The easiest way to clean your graphics card is by using a can of compressed air and a soft brush. This method helps remove dust buildup safely. Keeping your GPU clean is important for maintaining its performance and lifespan.
Over time, dust can clog your graphics card’s fans and heatsinks. This prevents proper airflow. Without good airflow, your GPU can overheat. Overheating can lead to performance drops and even permanent damage. Regular cleaning is a smart way to protect your investment.
- Use compressed air to blow away dust.
- A soft brush can help dislodge stubborn particles.
- Always work in a well-ventilated area.
- Ensure the card is completely cool before starting.
Ready to get your GPU looking and running like new? Let’s walk through exactly how to give your graphics card a much-needed cleaning, step by step.
Keeping Your GPU Dust-Free for Peak Performance
So, you’ve got a graphics card that’s humming along, powering your games and creative projects. But have you thought about its hidden enemy? That silent saboteur? It’s dust! Over time, dust bunnies love to make a cozy home inside your PC, and your graphics card is a prime target. Cleaning it regularly is a simple yet effective way to keep your GPU running cool and strong.
Why bother with the dust? Think of your graphics card like a car engine. It generates heat when it works hard. The fans and heatsinks on your GPU are designed to dissipate that heat. When dust clogs these parts, airflow is restricted. This means less cool air gets in and less hot air gets out. The result? Your GPU starts to sweat, leading to performance issues.
You might notice stuttering in games, longer load times, or even unexpected shutdowns. These are often signs of overheating. Beyond just performance, consistent overheating can shorten the lifespan of your graphics card. So, giving it a good clean is like giving it a spa day, ensuring it stays happy and healthy for years to come.
What You’ll Need for a Graphics Card Cleaning
Gathering the right tools makes this task much easier and safer. You don’t need a whole workshop for this; a few simple items will do the trick. Think of this as assembling your cleaning toolkit.
Essential Cleaning Supplies
Here’s what you should have on hand before you start:
- Can of compressed air: This is your primary weapon against dust. Look for a can specifically designed for electronics.
- Soft-bristled brush: An anti-static brush is ideal, but a clean, soft paintbrush or even a clean makeup brush can work in a pinch. Make sure it’s not too stiff!
- Phillips head screwdriver: You might need this if you plan to remove the shroud or fans, depending on how deep the dust goes.
- Anti-static wrist strap: This is highly recommended to prevent accidental static discharge, which can damage sensitive electronic components.
- Small container: To keep any screws organized if you decide to disassemble parts.
- Well-lit, ventilated area: You don’t want to inhale all that dust. Cleaning outdoors or near an open window is best.
Safety First: Protecting Your GPU and Yourself
Before you even think about touching your graphics card, safety is paramount. Static electricity is a real threat to computer components. A tiny zap can fry delicate parts.
Always ground yourself before touching anything inside your computer. An anti-static wrist strap connected to a metal part of your PC case is the best way to do this. If you don’t have one, frequently touch a metal object (like the case itself) to discharge any static buildup. Also, ensure your computer is completely powered off and unplugged from the wall outlet. Wait a few minutes after unplugging for any residual power to dissipate.
Step-by-Step Guide to Cleaning Your Graphics Card
Now that you have your supplies and understand the safety precautions, let’s get down to business. We’ll cover a basic clean and then touch on a more thorough approach if needed.
Phase 1: The Quick Clean (No Disassembly Required)
This is the easiest and most common way to clean your GPU. It’s perfect for regular maintenance.
First, carefully remove the graphics card from your computer. This usually involves unscrewing it from the back of the case and then pressing a small clip on the PCIe slot before gently pulling it out. Handle it by the edges or the metal bracket, avoiding touching the circuit board or components.
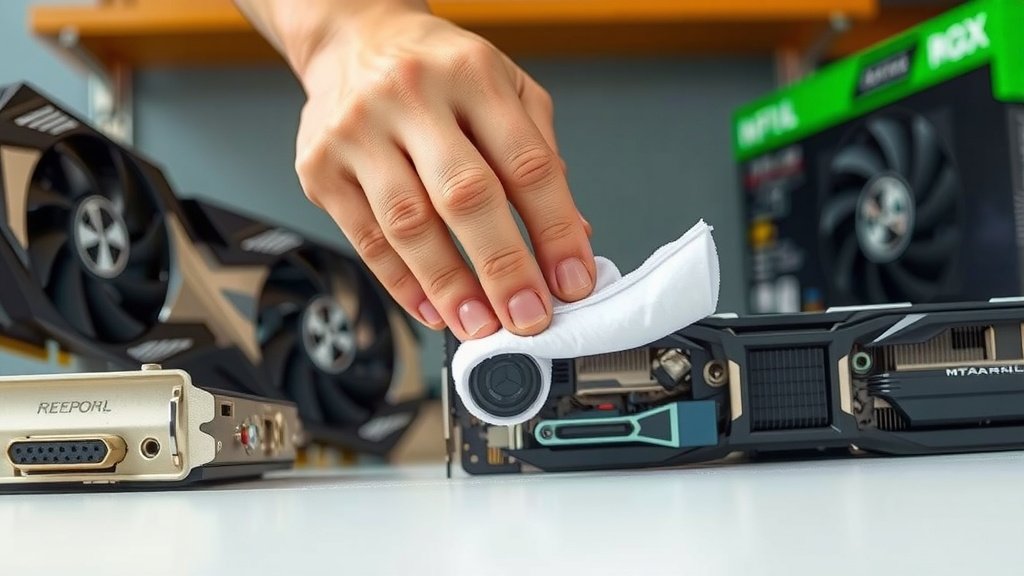
Take the card to your well-ventilated area. Hold the can of compressed air upright. Use short, controlled bursts to blow dust away from the fans, heatsink fins, and the PCB (Printed Circuit Board). Don’t hold the can upside down, as this can spray propellant, which can damage components.
If there’s stubborn dust clinging to the fan blades or heatsink, use your soft-bristled brush to gently dislodge it. Be very gentle. You don’t want to bend fan blades or scratch components. Remember, the goal is to remove dust, not create new problems.
Phase 2: A Deeper Clean (Optional Disassembly)
If your card is heavily soiled or you want to ensure a truly thorough clean, you might consider removing the shroud or even the heatsink. This step requires a bit more care and a willingness to handle small parts.
Removing the Shroud
Many modern graphics cards have a plastic shroud covering the fans and heatsink. This shroud is usually attached with a few small screws. Locate these screws on the back of the card or along the edges. Keep track of where each screw came from, as they can sometimes be different lengths. Use your Phillips head screwdriver to remove them.
Once the screws are out, gently separate the shroud from the main body of the card. You may need to disconnect a small cable connecting the fans to the PCB. Be extremely careful with these wires.
With the shroud removed, you’ll have much better access to the fans and heatsink fins. Use your compressed air and soft brush to clean these areas thoroughly. Pay special attention to the areas where dust collects most.
Cleaning the Heatsink and Fans
The heatsink is the metal component with lots of fins. Dust loves to get lodged between these fins. Blow compressed air through the fins from different angles to dislodge as much dust as possible. A soft brush can help sweep away any remaining particles.
For the fans, gently hold the blades still with one finger (or the brush) while you spray compressed air. This prevents them from spinning too fast and potentially damaging the bearings. Clean the fan blades themselves with the brush. If you removed the shroud, you can clean the fan motors too.
Reassembly and Reinstallation
After cleaning, carefully reassemble everything in reverse order. Ensure any fan cables are reconnected securely. Reattach the shroud with its screws. Double-check that you haven’t left any tools or stray parts inside.
Now, gently slide the graphics card back into its PCIe slot on the motherboard. Make sure it clicks into place. Reattach any screws that hold the card bracket to the case. Finally, reconnect your monitor cable and power cables. Power on your PC and enjoy a cleaner, cooler graphics card!
Many experts recommend this type of cleaning at least once every 6-12 months, depending on how dusty your environment is (National Center for Biotechnology Information).
Common Pitfalls to Avoid
Even with the best intentions, mistakes can happen. Being aware of these common errors can save your GPU from harm.
- Using a vacuum cleaner: Vacuums create a lot of static electricity. The risk of frying your card is very high.
- Spraying compressed air too close or too long: This can cause condensation, which is water damage. It can also spin fans too fast.
- Touching components directly: Always handle by the edges or the bracket. Your fingerprints have oils that can affect connections.
- Forgetting to unplug the power: This is a serious safety hazard. Always disconnect power before working inside your PC.
- Using harsh chemicals: Stick to compressed air and a dry, soft brush. Never use cleaning sprays or solvents.
Your GPU Cleaning Checklist
Here’s a quick rundown to make sure you’ve covered all your bases:
- Power off and unplugged: Is your PC completely disconnected from the wall?
- Grounded yourself: Did you use an anti-static strap or touch metal?
- Ventilated area: Are you cleaning somewhere with good airflow?
- Card removed carefully: Did you handle it by the edges?
- Dust blown out: Did you use short bursts of compressed air?
- Stubborn dust brushed: Was the brush soft and used gently?
- Reassembled correctly: Are all parts and cables back in place?
Conclusion
You’ve now got the knowledge to keep your graphics card running at its best. Cleaning your GPU regularly is a simple process that pays off big time in performance and longevity. Remember, a little bit of compressed air and a gentle brush go a long way in preventing overheating and potential damage. By following these steps, you’re actively protecting your investment and ensuring smooth gameplay and creative work for years to come.
So, the next time you notice a dip in performance or just want to perform some routine maintenance, tackle that dust. Your graphics card will thank you with cooler temperatures and consistent power.
Frequently Asked Questions
How often should I clean my graphics card?
It’s generally recommended to clean your graphics card at least once every 6 to 12 months. The exact frequency depends on how dusty your environment is and how much dust accumulates inside your PC. If you have pets or live in a particularly dusty area, you might need to clean it more often.
Can I use a vacuum cleaner to clean my graphics card?
No, you should never use a vacuum cleaner to clean your graphics card. Vacuums generate a lot of static electricity, which can easily damage the sensitive electronic components of your GPU. Stick to compressed air and a soft brush for safe dust removal.
What happens if I spray compressed air too close to the card?
Spraying compressed air too close or for too long can cause liquid propellant to spray out, which can damage components and lead to condensation. It can also spin the fans too rapidly, potentially harming their bearings. Always use short bursts from a safe distance, keeping the can upright.
Do I need to remove the graphics card from my PC to clean it?
While a quick dust-off can be done with the card in place, it’s highly recommended to remove it for a thorough cleaning. This allows you better access to all areas, including the heatsink fins and fan blades, ensuring more complete dust removal. Handling it outside the case also reduces the risk of accidentally damaging other components.
Is it safe to touch the components on the graphics card directly?
It’s best to avoid touching the components on the graphics card directly. Your skin has oils that can transfer and potentially interfere with connections or attract more dust. Always handle the card by its edges or the metal mounting bracket to minimize contact with sensitive parts.
![10 Best Amd Graphics Card For Price [2026]](https://spsolutionscare.com/wp-content/uploads/2026/08/10-best-amd-graphics-card-for-price-2026-featured-768x432.jpg)