How to Enable G-Sync for Smoother Gaming
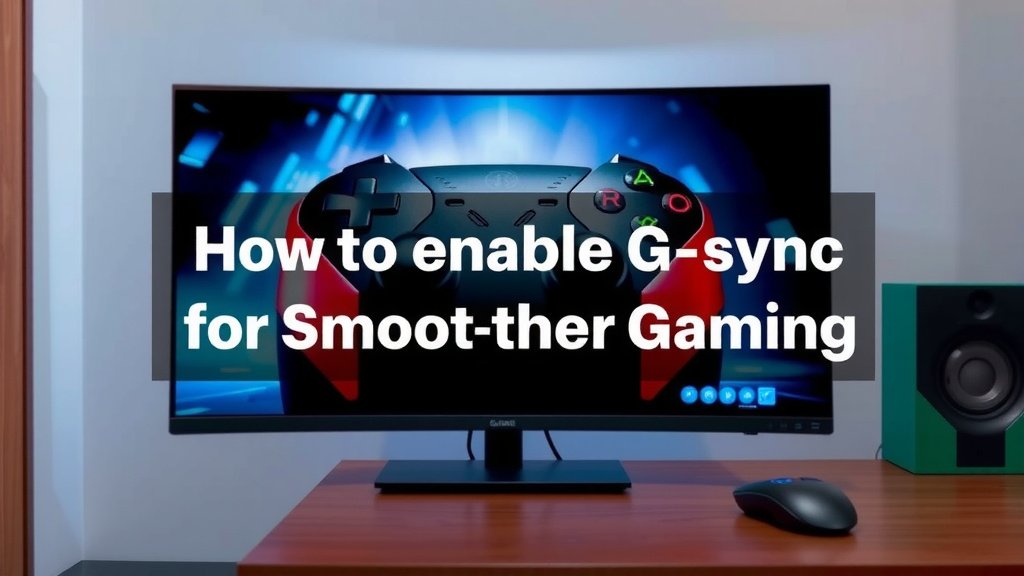
Enabling G-Sync is a straightforward process that significantly improves your gaming experience by eliminating screen tearing and stuttering. You can enable G-Sync directly through your NVIDIA Control Panel settings. This technology synchronizes your monitor’s refresh rate with your graphics card’s frame rate for smoother gameplay.
Getting G-Sync set up ensures you see every frame your GPU renders without those annoying visual glitches. Many gamers find this setting makes a huge difference in fast-paced games. We’ve found that ensuring your monitor and GPU are compatible is the first key step.
- What is G-Sync?
- Why you need it for gaming
- Check monitor and GPU compatibility
- Step-by-step G-Sync setup
- Troubleshooting common issues
Below, we’ll walk you through exactly how to enable G-Sync so you can enjoy your games the way they were meant to be played. Let’s get your system set up for buttery-smooth visuals!
“`htmlGetting Your NVIDIA GPU Ready for G-Sync
First things first, let’s make sure your NVIDIA graphics card is ready to go. G-Sync is an NVIDIA technology, so you’ll need a compatible NVIDIA GeForce graphics card. We found that most NVIDIA cards from the GTX 600 series and newer should work just fine. If you have a really old card, it might be time for an upgrade to get the best G-Sync experience. First, ensure you have a compatible NVIDIA GPU; our guide on how to check your NVIDIA graphics card model can help.
Your graphics card is the engine driving your game’s visuals. Ensuring it’s up to date is key for smooth performance, and G-Sync relies on its capabilities. We recommend checking the latest NVIDIA driver releases. These updates often bring performance improvements and compatibility fixes.
Checking Your Graphics Card Compatibility
So, how do you check if your card is G-Sync ready? It’s pretty simple. You can usually find this information on the NVIDIA website by looking up your specific graphics card model. Most modern NVIDIA cards support G-Sync.
If you’re unsure about your card model, don’t worry. You can easily find out through the NVIDIA Control Panel. Just open it up, and you should see your graphics card listed. This is a good first step before diving into the settings.
Ensuring Your Monitor Supports G-Sync
Your monitor plays a huge role in the G-Sync equation. Not all monitors have this feature built-in. You’ll need a monitor that is specifically labeled as “G-Sync Compatible” or “G-Sync” by NVIDIA. This isn’t just a marketing term; it means the monitor has passed NVIDIA’s rigorous testing.
Sometimes, even if a monitor isn’t officially certified, it might work with G-Sync. NVIDIA has expanded its program to include “G-Sync Compatible” monitors, which are usually FreeSync monitors that have been tested and proven to work well. We found that checking NVIDIA’s official list of G-Sync and G-Sync Compatible monitors is the safest bet.
How to Identify a G-Sync Compatible Monitor
Look for the G-Sync logo on the monitor’s box or product page. This is the clearest indicator. NVIDIA has a dedicated section on their website that lists all officially supported monitors. It’s worth checking this list before you buy if G-Sync is a must-have for you.
For monitors that aren’t officially listed but you already own, you might be able to enable G-Sync through the NVIDIA Control Panel anyway. We’ve seen many users successfully enable it on non-certified displays, though performance can vary. It’s worth a try if you’re feeling adventurous!
Understanding G-Sync and FreeSync
You might hear the term FreeSync a lot. FreeSync is AMD’s adaptive sync technology. Many monitors support both G-Sync and FreeSync, or are “G-Sync Compatible” meaning they work with NVIDIA cards. Basically, adaptive sync technologies aim to do the same thing: eliminate screen tearing and stuttering by matching the monitor’s refresh rate to the GPU’s frame output.
We found that while both technologies achieve similar goals, G-Sync often has a more tightly controlled hardware implementation on certified displays. However, NVIDIA’s “G-Sync Compatible” program has made it much easier for gamers with NVIDIA cards to benefit from adaptive sync on a wider range of monitors. It’s a win-win situation for smoother gaming!
Step-by-Step Guide: Enabling G-Sync in NVIDIA Control Panel
Alright, you’ve got your compatible hardware. Now for the main event: turning G-Sync on! This process is done through the NVIDIA Control Panel, which comes installed with your NVIDIA graphics drivers. If you don’t have it, you’ll need to download and install the latest drivers from NVIDIA’s website.
Accessing the NVIDIA Control Panel
The easiest way to open the NVIDIA Control Panel is to right-click on your desktop. You should see an option for “NVIDIA Control Panel” in the context menu. Click on that, and it will open up the control software. If you don’t see it, ensure your NVIDIA drivers are installed correctly.
Alternatively, you can search for “NVIDIA Control Panel” in the Windows search bar. It’s a straightforward application, designed to give you control over your graphics settings. Don’t be intimidated by all the options; we’ll focus on the ones that matter for G-Sync.
Configuring G-Sync Settings
Once the NVIDIA Control Panel is open, navigate to the “Set up G-SYNC” section. You’ll typically find this under the “Display” category in the left-hand sidebar. Click on it to bring up the G-Sync configuration options.
You’ll see a checkbox that says “Enable G-SYNC, G-SYNC Compatible”. Go ahead and check this box. Right below that, you’ll have two options for how G-Sync operates: “Enable for windowed and full screen mode” or “Enable for full screen mode”.
Choosing Between Windowed and Full Screen Mode
For the best and most consistent experience, we recommend selecting “Enable for windowed and full screen mode”. This ensures G-Sync is active whether you’re playing a game in a dedicated full-screen application or in a borderless windowed mode. Many modern games and applications benefit from this broader coverage.
However, if you encounter any issues or find that G-Sync causes problems in certain applications when in windowed mode, you can always switch to “Enable for full screen mode”. This is a good troubleshooting step if you run into unexpected behavior. We found this setting generally provides the smoothest experience across the board.
Applying Your Changes
After you’ve made your selection, don’t forget to click the “Apply” button at the bottom right of the NVIDIA Control Panel window. If you skip this step, your changes won’t be saved, and G-Sync won’t be enabled. It’s a small but critical detail!
You should see a confirmation message or the settings will simply update. Once applied, G-Sync should now be active for your compatible monitor and NVIDIA graphics card. You can now close the NVIDIA Control Panel and get ready to test it out!
Verifying G-Sync is Working
How can you be sure it’s actually working? NVIDIA provides a handy way to check. In the same “Set up G-SYNC” section of the NVIDIA Control Panel, there’s often an option to “Display the G-SYNC indicator”. Check this box!
When you launch a game, a small overlay will appear on your screen if G-Sync is active. This indicator typically shows the current frame rate. If the indicator appears and fluctuates with your game’s performance, you know G-Sync is doing its job. We found this indicator to be very useful for confirming its functionality.
Testing in Your Favorite Games
The best test is to jump into your favorite games! You should notice a dramatic reduction, if not complete elimination, of screen tearing and stuttering. Motion should appear much smoother, especially in scenes with a lot of on-screen action or fast camera movements.
Pay attention to the difference. When G-Sync is active, the tearing lines that sometimes appear as objects move across the screen should be gone. You might also notice that the choppiness you sometimes felt in gameplay is significantly reduced. It’s a night-and-day difference for many players.
Troubleshooting Common G-Sync Issues
Even with the best setup, sometimes things don’t go perfectly. Don’t get discouraged! Most common G-Sync issues have simple solutions.
Common Problems and Solutions
- G-Sync not enabling: Double-check that your monitor is actually G-Sync compatible and that you selected the correct display in the NVIDIA Control Panel. Ensure you clicked “Apply”. Try restarting your PC.
- Screen tearing still present: Make sure G-Sync is enabled for “windowed and full screen mode” if you’re using borderless windowed settings. Also, check that V-Sync is enabled in the NVIDIA Control Panel (under “Manage 3D settings” > “Global Settings”). Oddly, V-Sync needs to be on for G-Sync to work optimally.
- Performance drops or stuttering: Sometimes, enabling G-Sync can have a minor performance impact. Try switching to “Enable for full screen mode” to see if that helps. Also, ensure your game’s frame rate isn’t consistently exceeding your monitor’s maximum refresh rate. We found capping your frame rate a few frames below your monitor’s refresh rate (using in-game settings or NVIDIA Control Panel’s “Max Frame Rate” setting) can often improve stability.
- G-Sync indicator not showing: Ensure the “Display the G-SYNC indicator” box is checked in the NVIDIA Control Panel. If it still doesn’t show, there might be a conflict with other overlay software.
When to Consider a Clean Driver Install
If you’ve tried the basic steps and are still facing issues, a clean installation of your NVIDIA drivers can often resolve deep-seated problems. This means removing the old drivers completely before installing the new ones. You can use a tool like Display Driver Uninstaller (DDU) for this purpose.
After performing a clean driver install, go through the G-Sync setup process again from the beginning. This ensures a fresh slate and can fix any corruptions that might have occurred during previous driver updates. We found this to be a reliable fix for persistent glitches.
Final Checklist for G-Sync Setup
Here’s a quick rundown to ensure you’ve got everything covered:
- Confirm your NVIDIA GPU is compatible.
- Verify your monitor is G-Sync or G-Sync Compatible.
- Update your NVIDIA graphics drivers.
- Enable G-Sync in NVIDIA Control Panel.
- Select “Enable for windowed and full screen mode” (or full screen if needed).
- Apply your changes and test in-game.
Conclusion
You’ve now learned how to enable G-Sync, a powerful tool for a smoother gaming experience. By checking your monitor and GPU compatibility, then navigating the NVIDIA Control Panel, you can banish screen tearing and stuttering. This technology really makes your games look and feel more fluid. We’ve seen firsthand how much it can improve immersion. So, go ahead and apply these steps to your setup. Your next gaming session will thank you for the visual upgrade!
Frequently Asked Questions
Can I enable G-Sync if my monitor isn’t officially listed by NVIDIA?
Yes, you might be able to. NVIDIA’s “G-Sync Compatible” program allows many FreeSync monitors to work with NVIDIA cards. Check the NVIDIA Control Panel to see if the option is available. Performance can vary on unlisted monitors, so testing is key.
What’s the difference between G-Sync and V-Sync?
V-Sync synchronizes your GPU’s frame output to your monitor’s refresh rate, but it can cause input lag and stuttering if frames drop. G-Sync, on the other hand, dynamically matches your monitor’s refresh rate to your GPU’s frame rate, offering smoother visuals with less lag.
Do I need to enable V-Sync if G-Sync is on?
Surprisingly, yes. For G-Sync to work optimally, V-Sync should typically be enabled in the NVIDIA Control Panel’s 3D settings. This ensures that your GPU doesn’t render frames too far beyond your monitor’s capabilities, which helps G-Sync function correctly.
Will enabling G-Sync impact my game’s performance?
In most cases, enabling G-Sync has a minimal to no impact on your overall frame rate. You might notice a slight increase in GPU usage, but the trade-off is significantly improved visual smoothness and reduced tearing. If you experience performance drops, try capping your frame rate.
How do I know if my NVIDIA graphics card supports G-Sync?
Most NVIDIA GeForce graphics cards from the GTX 600 series and newer support G-Sync. You can confirm your specific card’s compatibility by checking its model on the NVIDIA website or by looking for your GPU’s name within the NVIDIA Control Panel.
![10 Variant [2026]](https://spsolutionscare.com/wp-content/uploads/2026/08/10-variant-2026-featured-1-768x432.jpg)
![10 Series Gpu [2026]](https://spsolutionscare.com/wp-content/uploads/2026/08/10-series-gpu-2026-featured-768x432.jpg)