How to Replace GPU Thermal Pads Step-by-Step Guide
Yes, you can absolutely replace your GPU thermal pads to improve cooling. This process helps manage the heat your graphics card generates. Replacing old pads ensures better contact between the GPU chip and its cooling system, leading to cooler, more stable performance.
Thermal pads are often overlooked but are vital for GPU health. Over time, they can dry out and lose effectiveness, causing your card to run hotter. This guide will show you how to swap them out for fresh ones, potentially extending your GPU’s lifespan and preventing performance throttling.
- Older thermal pads can overheat your GPU.
- Replacing them is a DIY fix for better cooling.
- Fresh pads improve heat transfer from the GPU chip.
- This can lead to lower temperatures and less noise.
Ready to give your GPU a much-needed thermal refresh? Let’s walk through exactly how to replace your GPU thermal pads step by step.
Giving Your GPU a Fresh Thermal Start
You’re here because your graphics card is running hotter than you’d like. That’s perfectly normal for any hardware, especially gaming GPUs. Over time, the material that transfers heat from your GPU chip to its cooler can break down. These are called thermal pads. Replacing them is a very effective way to boost cooling performance. It’s like giving your GPU a spa day. This guide will walk you through the process, step by step.
Gathering Your Essential Tools and Supplies
Before you start unscrewing things, let’s make sure you have everything you need. Working on your GPU requires a bit of preparation to go smoothly. Having the right items will save you time and frustration.
What You’ll Need for the Job
You’ll want a few key things on hand. First, of course, are the new thermal pads. It’s important to get the right thickness and size for your specific GPU model. We’ll talk more about choosing them later. You’ll also need a set of small screwdrivers, usually a Phillips head is most common for GPUs. An anti-static wrist strap is a must-have to Knowing your specific GPU model is crucial for ordering the correct replacement parts.protect your components from static electricity. A small container or magnetic tray for screws is a lifesaver, preventing them from getting lost. Finally, some isopropyl alcohol (90% or higher) and lint-free wipes or cotton swabs are needed for cleaning. A plastic spudger or an old credit card can help gently pry things apart without scratching.
Choosing the Right Thermal Pads
This is a critical step. Not all thermal pads are created equal. You need pads that match the original thickness of the ones on your GPU. If they’re too thin, they won’t make good contact. If they’re too thick, you could damage your GPU when you reassemble it. Manufacturers often list the required thicknesses for different components like VRAM and VRMs. You can often find this information on forums or specialized websites dedicated to GPU teardowns. Brands like Arctic, Thermal Grizzly, and Gelid offer high-quality pads in various thicknesses. It’s better to buy a pack with a few different sizes if you’re unsure.
The Step-by-Step Process: Replacing Your GPU’s Thermal Pads
Now for the main event. Take your time with each step. Patience is key to a successful GPU thermal pad replacement. Remember, we’re aiming for better cooling, not a faster assembly line.
Safely Disassembling Your Graphics Card
First, make sure your computer is completely powered off and unplugged. You should also ground yourself using that anti-static wrist strap. Begin by removing the GPU from your computer. Place it on a clean, flat surface. Next, locate and remove the screws holding the cooler shroud to the heatsink. These are usually on the back of the card, around the edges. Keep track of where each screw came from; they can sometimes be different lengths. Gently detach the cooler shroud and fan assembly from the heatsink. Be careful as there might be a fan cable still attached. Unplug this cable gently from the GPU PCB. You should now have the heatsink assembly separated from the main board.
Removing the Old Thermal Pads
With the heatsink removed, you’ll see the thermal pads on the VRAM chips and VRMs. They might look dried out, cracked, or even gummy. Use your plastic spudger or credit card to carefully peel off the old pads. Don’t force them if they’re stuck. If they leave residue, that’s okay. We’ll clean that up next.
Cleaning for Optimal Contact
This is where the isopropyl alcohol and lint-free wipes come in. Dip a wipe or swab into the alcohol and gently clean away any old thermal paste or pad residue from the GPU PCB components. Also, clean the metal contact points on the heatsink where the pads will sit. You want a perfectly clean and smooth surface for the new pads. This ensures the best possible heat transfer. Ensure all alcohol has evaporated before proceeding.
Applying the New Thermal Pads
Now, take your new thermal pads. Cut them to the exact size of the components they need to cover. Some people prefer to leave the protective film on one side while they position the pad. Then, peel off the film and press the pad gently into place. Ensure there are no air bubbles trapped within the pad. Air is an insulator, and we want to avoid it. You might need multiple small pieces for some components. Make sure the pads are making good contact with both the component and the heatsink surface.
Reassembling Your Graphics Card
Carefully reconnect the fan cable to the GPU PCB. Align the heatsink assembly with the GPU PCB, making sure the thermal pads are positioned correctly over the chips. Gently press the heatsink down. Replace all the screws that hold the cooler shroud and heatsink together. Make sure they are snug but don’t overtighten them. Reinstall the GPU back into your computer. It’s a good idea to reapply thermal paste to the GPU die itself while you have it apart, but that’s a slightly different process.
Verifying Your Work and Checking Temperatures
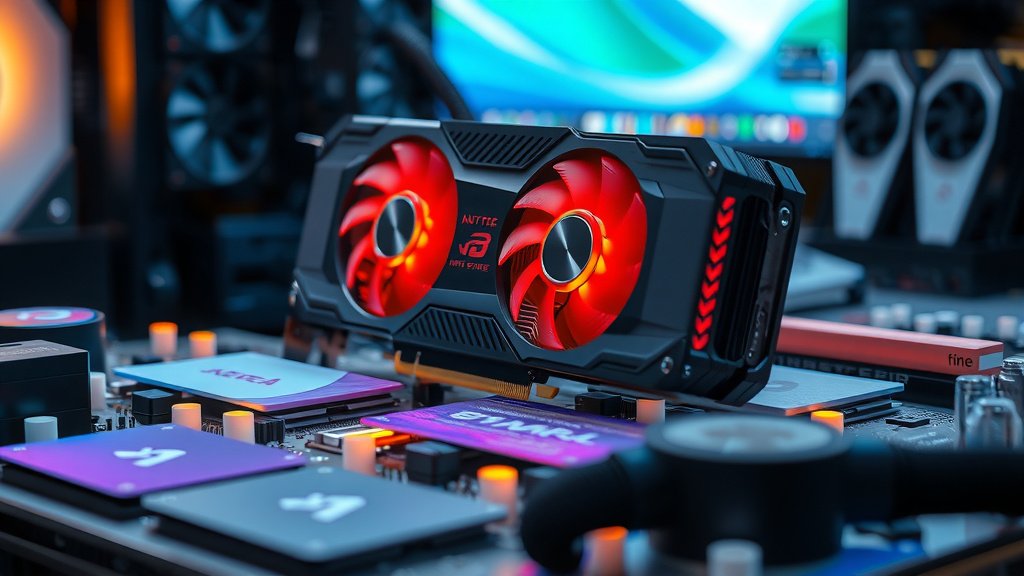
After reassembly, it’s time to test. Boot up your computer and open your favorite GPU monitoring software. Tools like MSI Afterburner or HWMonitor can show you your GPU temperatures. Run a demanding game or a benchmarking tool for about 15-20 minutes. Monitor your GPU’s temperature under load. You should see a noticeable improvement. A drop of 5-10 degrees Celsius is often achievable. If temperatures are still high, double-check your work. Ensure all pads are making firm contact and that no screws were missed.
A Quick Checklist for Your Thermal Pad Swap
- Gathered all necessary tools and the correct thermal pads.
- Powered off and unplugged the PC, and used an anti-static wrist strap.
- Carefully removed the GPU cooler without damaging components.
- Cleaned all surfaces thoroughly for optimal pad adhesion.
- Applied new thermal pads, ensuring correct thickness and no air bubbles.
- Reassembled the GPU correctly and reinstalled it in the PC.
Conclusion
You’ve successfully navigated the process of replacing your GPU thermal pads. Remember, this DIY fix is a great way to combat overheating and keep your graphics card running smoothly. By ensuring fresh, effective thermal material, you’re helping to prevent throttling and potentially extend your GPU’s lifespan. Your patience and careful work will pay off with cooler temperatures and quieter operation.
The next step is simple: monitor your GPU temperatures after your first gaming session with the fresh pads. Enjoy the improved performance and peace of mind you’ve earned!
Frequently Asked Questions
How do I know if my GPU thermal pads need replacing?
You’ll usually notice higher-than-normal GPU temperatures during gaming or heavy workloads. If your card is throttling (reducing performance to cool down) or if fans are constantly running at high speeds, it’s a strong indicator. Checking your GPU’s temperature with monitoring software is the best way to tell.
Can I use thermal paste instead of thermal pads on my GPU?
Thermal paste is used for the GPU die itself, not typically for VRAM or VRM chips where thermal pads are applied. Thermal pads are designed to fill larger gaps and provide a consistent connection across these components, which paste alone can’t do effectively.
Where can I find the correct thermal pad thickness for my specific GPU?
Many users post detailed teardown guides and recommended pad thicknesses on enthusiast forums like Reddit’s r/buildapc or specific hardware review sites. Manufacturers sometimes provide this information, but it’s often more readily available from the community.
What happens if I use thermal pads that are too thick or too thin?
If pads are too thick, they can put excessive pressure on the GPU components when reassembling, potentially causing damage. If they are too thin, they won’t make proper contact, leading to poor heat transfer and still-high temperatures.
How often should I consider replacing my GPU thermal pads?
There’s no strict schedule, but if you’re experiencing thermal issues or if your GPU is several years old and has seen heavy use, it might be time. Monitoring your temperatures is the best indicator; if they start creeping up, a pad replacement is a good idea.
![10 Best Gpu For Modded Minecraft [2026]](https://spsolutionscare.com/wp-content/uploads/2026/10/10-best-gpu-for-modded-minecraft-2026-featured-768x432.jpg)
![10 Best Brand Graphics Card For Gaming [2026]](https://spsolutionscare.com/wp-content/uploads/2026/08/10-best-brand-graphics-card-for-gaming-2026-featured-768x432.jpg)