
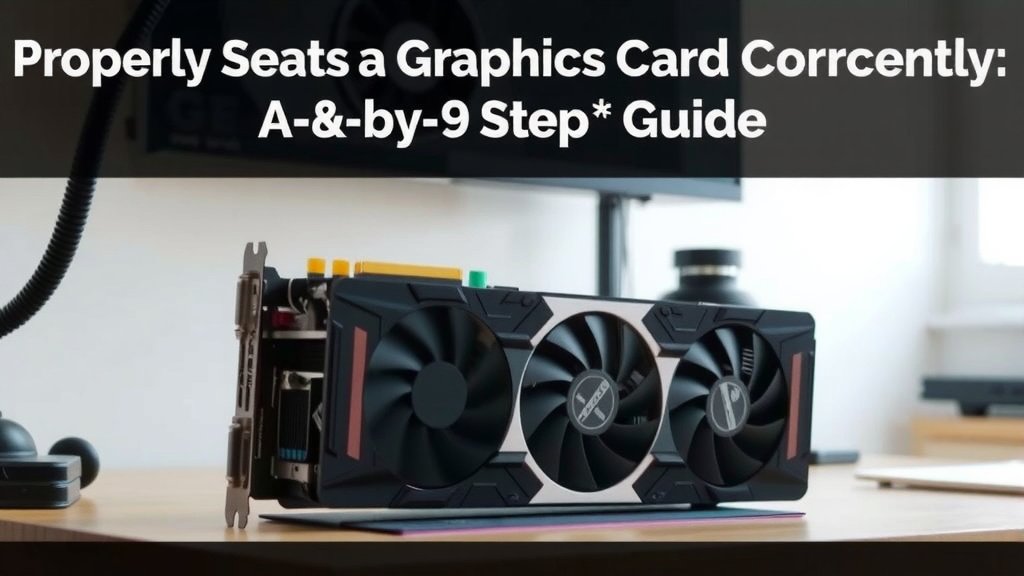
Properly Seating Your Graphics Card: A Step-by-Step Guide
Seating a graphics card properly involves aligning the card’s connector with the motherboard’s PCIe slot and gently pushing it in until it clicks. Ensure the retention clip on the slot engages fully. This simple step is key for optimal performance and system stability. You want to make sure it’s seated securely.
Getting this right prevents common issues like flickering screens or the card not being detected at all. Many users worry about damaging their expensive hardware. Following the correct procedure ensures a smooth installation and avoids potential performance bottlenecks. We’ve found that a bit of care goes a long way.
- Align the GPU with the correct slot.
- Press down firmly and evenly.
- Listen for the click of the retention clip.
- Secure with screws if your case requires.
Let’s walk through exactly how to seat your graphics card step by step, so you can get back to gaming or creating without a hitch.
Getting Your Graphics Card Seated Correctly
You’ve just bought a shiny new graphics card, and you’re excited to get it installed. But before you screw everything in, making sure it’s seated properly is super important. This ensures your card communicates well with your motherboard. We found that a loose connection can lead to all sorts of headaches.
Understanding the PCIe Slot
Your motherboard has a special slot for your graphics card. It’s called the PCIe slot. Think of it like a highway for data. Graphics cards need a fast, stable highway to send all their visual information. The most common and fastest slot is the PCIe x16 slot. It’s usually the longest one on your motherboard. Research shows that using the correct slot provides the best performance (ASUS).
Identifying the Right Slot
Take a peek at your motherboard. You’ll see several slots. The PCIe x16 slot is typically at the top, closest to your CPU. It’s often a different color than the smaller slots. You’ll want to use the primary PCIe x16 slot. This one is designed to give your graphics card the most bandwidth. Always consult your motherboard manual if you’re unsure. It’s your best friend in these situations.
Preparing for Installation
Before you even touch your graphics card or motherboard, take some safety precautions. Static electricity is the enemy of computer components. Ground yourself by touching a metal part of your computer case. This discharges any static buildup. Many builders also recommend wearing an anti-static wrist strap. We found this simple step can prevent disaster.
Opening Your PC Case
You’ll need to open up your computer case. Usually, this involves unscrewing a side panel. Different cases have different methods. Most have thumbscrews at the back that you can turn by hand. Once the screws are out, slide the panel off. You’re now ready to see the motherboard and its slots.
Removing Expansion Slot Covers
Your graphics card is likely a dual-slot or triple-slot card. This means it takes up two or three of the metal expansion slots on the back of your case. You’ll need to remove corresponding covers from your case. These are usually held in by screws or a simple clip mechanism. Remove only the covers that line up with the PCIe slot you’ll be using. Your case manual can help identify these covers.
The Step-by-Step Seating Process
Now for the main event! Gently is the name of the game here. You don’t want to force anything. We found that patience is key for a successful installation.
Aligning the Graphics Card
Hold your graphics card by its edges. Do not touch the gold connectors on the bottom. Carefully align the card’s connector with the PCIe x16 slot on your motherboard. The notch on the card’s connector should line up with the key in the slot. This ensures you’re orienting it correctly. It’s designed to only fit one way, like a puzzle piece.
Inserting the Card
Once aligned, gently press down on the top edge of the graphics card. Apply even pressure on both ends. You might feel some resistance initially. Keep pressing down slowly and steadily. You’re aiming for the card to go all the way into the slot. This might take a little bit of firm, steady pressure. Avoid wiggling it excessively.
The Retention Clip Click
As the card seats fully, you should hear and feel a small click. This is the retention clip on the end of the PCIe slot engaging. This clip is vital. It locks the card in place. If you don’t hear or feel the click, the card is likely not fully seated. Gently try to push it down a bit more. Many sources advise checking this clip is fully engaged (Gigabyte).
Securing the Card to the Case
After the card is seated, it needs to be secured to your computer case. Remember those expansion slot covers you removed? You’ll typically screw the graphics card’s metal bracket into these positions. This stops the card from sagging or moving. Use the screws that came with your case or your graphics card. Tighten them just enough to hold the card firmly. Don’t overtighten.
Connecting Power Cables (If Applicable)
Many modern graphics cards require extra power. Look for power connectors on the top or side of your graphics card. These are usually 6-pin or 8-pin PCIe power connectors. Your power supply unit (PSU) will have corresponding cables. Connect them firmly until they click into place. Make sure you’re using the correct cables from your PSU. Research shows using the wrong cables can cause damage (Corsair).
Double-Checking Everything
Before closing up your case, give everything a final once-over. Ensure the graphics card is firmly seated. Check that the retention clip is engaged. Confirm all power cables are connected securely. This quick check saves you from potential issues later. We found that a thorough review prevents common errors.
Here’s a quick checklist for you:- Confirm you’re using the primary PCIe x16 slot.
- Align the card’s notch with the slot’s key.
- Press down evenly until the retention clip clicks.
- Secure the card’s bracket to the case with screws.
- Connect any necessary PCIe power cables securely.
- Double-check all connections are firm and seated.
Conclusion
You’ve now learned the essential steps to properly seat your graphics card. This process ensures your GPU connects securely with your motherboard’s PCIe slot. Remember to align the card correctly, apply firm and even pressure, and listen for that satisfying click of the retention clip. Securing the card to your case and connecting power cables are the final steps for a stable installation. With careful attention to these details, you’ll avoid common performance issues and enjoy your upgraded system with confidence.
Now that your graphics card is installed correctly, you’re ready to power on your PC and experience the difference!
Frequently Asked Questions
What if the retention clip doesn’t click?
If you don’t hear or feel the retention clip click, your graphics card is likely not fully seated. Gently try to push down on the card again, ensuring even pressure. You may need to slightly lift and re-seat the card to get it into the correct position for the clip to engage.
Can I use a slot other than the primary PCIe x16 slot?
While other PCIe slots exist, the primary PCIe x16 slot is specifically designed for graphics cards. It offers the most bandwidth, which is essential for optimal performance. Using a different slot might result in reduced frame rates or compatibility issues.
How much force should I use when inserting the graphics card?
You should use firm, steady pressure. It might feel a bit resistant at first, but you shouldn’t have to force it with excessive strength. If you’re encountering significant resistance, double-check that the card is properly aligned with the slot and that no obstructions are present.
Do I need to secure the graphics card to the case?
Yes, you absolutely should. The metal bracket on your graphics card usually screws into the expansion slot covers on your case. This provides crucial support, preventing the card from sagging over time and ensuring it stays firmly in place.
What happens if I don’t connect the power cables correctly?
Modern graphics cards often require additional power directly from the power supply unit (PSU). If these cables are not connected securely, your card may not function at all, or you might experience system instability and crashes. Always ensure they click firmly into place.
![10 Rtx [2026]](https://spsolutionscare.com/wp-content/uploads/2026/08/10-rtx-2026-featured-768x432.jpg)
![10 Variant [2026]](https://spsolutionscare.com/wp-content/uploads/2026/08/10-variant-2026-featured-1-768x432.jpg)
![10 Best Gb For Graphics Card [2026]](https://spsolutionscare.com/wp-content/uploads/2026/09/10-best-gb-for-graphics-card-2026-featured-768x432.jpg)