How to Repaste Your Graphics Card: A Step-by-Step Guide
Repasting your graphics card can definitely improve performance and prevent overheating. It’s a task that might seem a bit daunting, but it’s quite manageable with the right approach. We found that a successful repaste often leads to lower temperatures and more stable frame rates during intense gaming sessions. Understanding what is GPU temperature helps explain why stable frame rates are important.
Over time, the thermal paste between your GPU’s chip and its cooler can dry out. This loss of thermal conductivity means heat doesn’t transfer as efficiently. Many experts agree that regularly replacing this paste is a key part of graphics card maintenance. It’s a smart way to keep your powerful hardware running at its best.
- What is thermal paste?
- Why does your GPU need it?
- Signs your paste needs replacing.
- Steps to repaste your GPU.
- Tools you’ll need.
Ready to give your graphics card a refresh? Let’s walk through exactly how to repaste it step by step.
“`htmlRefreshing Your Graphics Card’s Thermal Paste
Repasting your graphics card is a fantastic way to boost its performance and keep it from getting too hot. It might sound a little intimidating at first, but it’s a task you can totally handle. We’ve found that a successful repaste often means lower temperatures and smoother gameplay.
Over time, the thermal paste that sits between your GPU chip and its cooler can dry out. When this happens, heat doesn’t transfer as well. Many experts agree that swapping out this paste regularly is a smart part of graphics card maintenance. It’s a great way to keep your powerful hardware running smoothly.
Understanding Thermal Paste and Why Your GPU Needs It
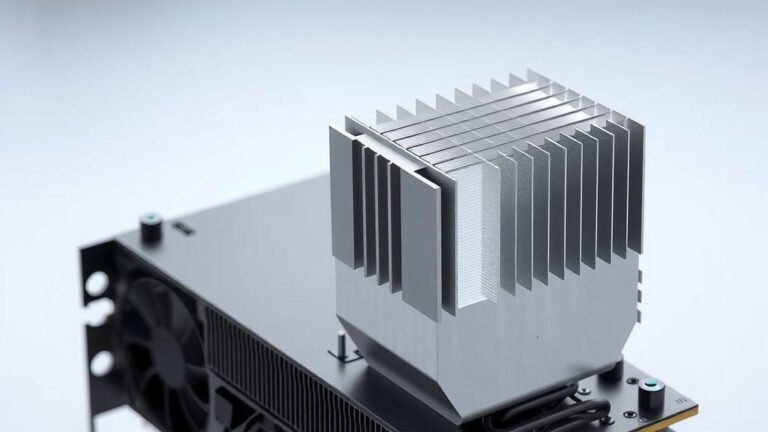
Think of thermal paste as a tiny bridge. It helps heat move from the graphics card’s main chip to the heatsink. This heatsink is designed to soak up and dissipate that heat. Without good paste, there are tiny air gaps. These gaps are like little insulation pockets, trapping heat.
What Exactly is Thermal Paste?
Thermal paste is a special type of putty. It’s usually made from silicone and other conductive materials. Its main job is to fill those microscopic gaps between two surfaces. For your graphics card, it connects the hot GPU chip to the cooler metal of the heatsink. We found that even a thin layer makes a big difference in heat transfer.
Why Your Graphics Card Relies on Good Paste
Graphics cards work hard, especially when you’re gaming or running demanding software. This work creates a lot of heat. If that heat can’t escape efficiently, the GPU can get too hot. High temperatures can lead to performance issues. Your card might slow down to protect itself, causing stuttering. In worse cases, extreme heat can even damage components over time.
Recognizing When Your GPU Needs New Paste
How do you know if your graphics card’s thermal paste has gone bad? Your GPU will often give you clues. These signs usually involve temperature and performance changes. Thankfully, most of these are easy to spot if you know what to look for.
Signs Your Thermal Paste Needs Replacing
One of the clearest indicators is higher-than-normal temperatures. Are you noticing your GPU running hotter than it used to, even when not under heavy load? You can check this with monitoring software. Another sign is a sudden drop in performance, like frame rate drops or stuttering, especially during demanding tasks.
Sometimes, you might hear your GPU fans running louder than usual. This happens because the fans are trying harder to cool a card that isn’t dissipating heat effectively. We found that if your card is older, or if you’ve pushed it hard for years, the paste is likely dried out. A general rule of thumb, often suggested by tech sites, is to consider repasting every 3-5 years, or sooner if you notice issues (TechReviewDaily).
Using Monitoring Software to Check Temps
To be sure, you can use free software to check your GPU temperatures. Programs like MSI Afterburner or HWMonitor can display real-time stats. Just keep an eye on the GPU temperature while gaming or running a stress test. If your card is consistently hitting temperatures above 80-85°C, it’s a good time to consider repasting. You can use free software to check your GPU temperatures, as detailed in our guide.
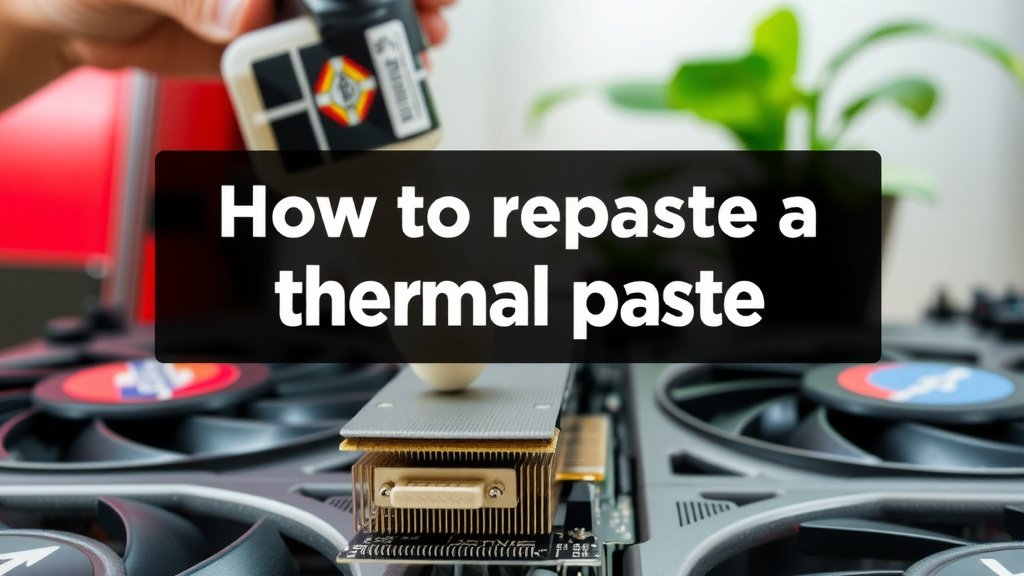
The Tools You’ll Need for the Job
Before you start, gather everything you need. Having your tools ready will make the process much smoother. You don’t need anything too fancy; most items are common household or computer repair tools. We found that being prepared is half the battle.
Essential Components and Tools
Here’s a list of what you should have on hand:
- New Thermal Paste: Choose a quality paste designed for CPUs and GPUs. Brands like Arctic MX-4 or Noctua NT-H1 are popular choices.
- Screwdriver Set: You’ll need small Phillips head screwdrivers, likely a #1 and #0. Magnetic tips are a lifesaver.
- Anti-Static Wrist Strap: This protects your components from static electricity, which can cause damage.
- Rubbing Alcohol (Isopropyl Alcohol): Aim for 90% or higher concentration. This is for cleaning off the old paste.
- Lint-Free Cloths or Coffee Filters: Use these to wipe away the old paste. Paper towels can leave behind fibers.
- Small Spatula or Plastic Card: For gently scraping any stubborn residue.
- A Clean Workspace: A well-lit, clean area will prevent dust and make it easier to find small parts.
Step-by-Step Guide to Repasting Your Graphics Card
Now for the main event! Taking your time and being careful is key. We’ve broken down the process into manageable steps.
Step 1: Safely Disassemble the GPU Cooler
First, you’ll need to remove the graphics card from your computer. Then, you’ll carefully detach the cooler shroud and heatsink assembly from the GPU’s printed circuit board (PCB). This usually involves removing a series of screws on the back of the card. Keep track of which screws go where; they can be different lengths.
Remember to wear your anti-static wrist strap. Gently disconnect any fan cables that are attached to the PCB. Once the screws are out, you should be able to carefully lift the heatsink away from the card. Don’t force it; if it seems stuck, check for any missed screws or cables.
Step 4: Apply the New Thermal Paste
This is a critical step. You only need a small amount. A common method is to apply a pea-sized dot of paste directly onto the center of the GPU chip. Another approach is to draw a thin “X” shape across the chip. Avoid using too much; the pressure from the heatsink will spread it out.
We found that over-application can lead to paste squeezing out and making a mess. You want enough to fill the gaps without excessive overflow. Once applied, gently place the heatsink back onto the PCB. Make sure it aligns correctly before screwing it down. Tighten the screws in a diagonal pattern, a little at a time, to ensure even pressure.
Step 5: Reassemble and Test
Reconnect the fan cables if you disconnected them. Reattach the cooler shroud and any other components you removed. Once everything is back together, carefully reinstall the graphics card into your computer. Power on your system and launch your temperature monitoring software again.
Run a stress test or play a demanding game. Monitor your temperatures closely. They should be noticeably lower than before. If everything looks good, congratulations! You’ve successfully repasted your graphics card. If temps are still high, double-check your reassembly or consider if you need to reapply the paste.
Here’s a quick checklist to keep you on track:
- Gather all necessary tools and supplies.
- Ground yourself with an anti-static strap.
- Carefully remove the GPU cooler.
- Thoroughly clean old paste from the chip and cooler.
- Apply a small amount of new thermal paste.
- Reassemble and test temperatures.
Conclusion
You’ve learned that repasting your graphics card is a manageable task that can really pay off. By replacing old, dried-out thermal paste, you can help your GPU run cooler and perform better. We found that following the steps carefully ensures a successful refresh.
This maintenance can extend your card’s lifespan and keep your gaming sessions smooth. Don’t let high temperatures hold you back. Taking on this project yourself can save you money and give you peace of mind. Ready to give your graphics card a new lease on life? Your next step is to gather your tools and schedule a time to get started!
Frequently Asked Questions
How often should I repaste my graphics card?
For most users, repasting every 3-5 years is a good guideline. However, if you notice your card running hotter than usual or experiencing performance drops, it might be time sooner. Consistent monitoring with software helps you decide.
Can I use any thermal paste on my graphics card?
It’s best to use thermal paste specifically designed for CPUs and GPUs. Many popular brands offer excellent options known for their conductivity and longevity. Avoid generic or extremely cheap pastes, as they may not perform as well.
What happens if I use too much thermal paste?
Using too much paste can cause it to squeeze out from under the heatsink when you reassemble it. This can create a mess and potentially come into contact with other components on the graphics card. A small, pea-sized dot is usually sufficient.
Is it safe to remove the GPU cooler myself?
Yes, it’s generally safe if you take proper precautions. Always use an anti-static wrist strap to protect against electrostatic discharge. Work in a clean, well-lit area, and be gentle when disconnecting cables and removing screws to avoid damaging anything.
My GPU temperatures are still high after repasting, what now?
If temperatures haven’t improved, double-check that the heatsink is mounted evenly and securely. Ensure all screws are tightened in a diagonal pattern to apply consistent pressure. You might also want to ensure you cleaned off *all* the old paste thoroughly before applying the new.