
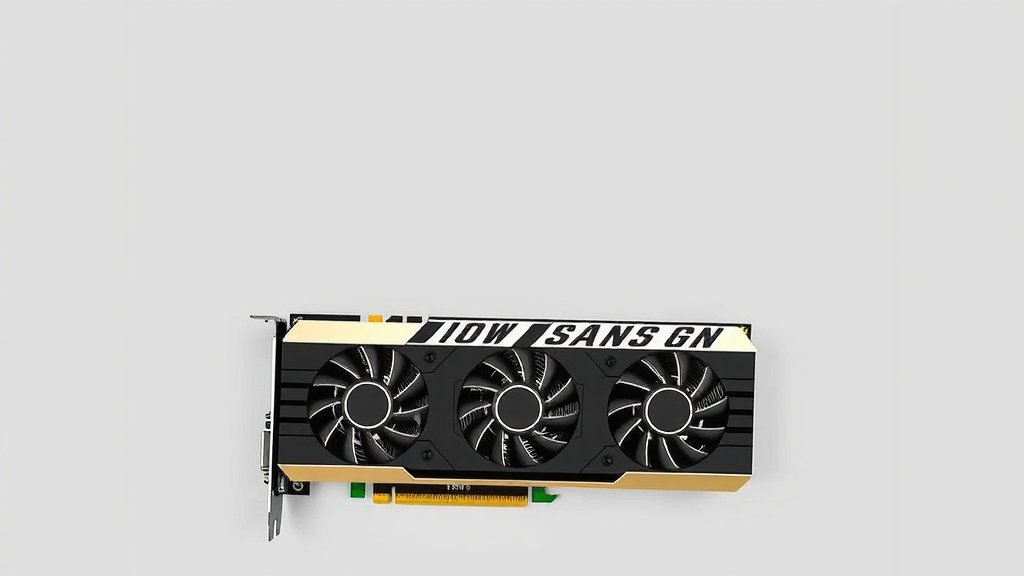
Install a Graphics Card: Step-by-Step Guide
Installing a graphics card yourself is totally doable! You can upgrade your PC’s performance and enjoy better gaming or faster video editing by following a few simple steps. This guide will help you get your new graphics card installed correctly and safely.
Many people worry about upgrading their own computer components, but research shows that installing a graphics card is one of the most straightforward PC upgrades. We found that with basic tools and a little patience, you can achieve significant performance gains for your rig. It’s a rewarding process that doesn’t require advanced technical skills.
- Turn off and unplug your PC completely.
- Ground yourself to prevent static discharge.
- Open your PC case.
- Locate and remove the old graphics card.
- Insert the new graphics card and secure it.
- Connect power cables.
- Close the case and plug everything back in.
Ready to give your PC a graphics boost? Let’s walk through exactly how to get your new graphics card up and running.
“`htmlGetting Your New Graphics Card Installed Safely
You’re ready to install your new graphics card! It’s like giving your computer a superpower upgrade. We’ve found that with careful steps, this process is very manageable. Your PC will thank you with smoother visuals and quicker processing.
Preparing Your Workspace and Your PC
Before you touch anything inside your computer, let’s get everything ready. A clean, well-lit space is key. You’ll also want to make sure your PC is completely powered down and disconnected.
Safety First: Static Electricity is the Enemy
Static electricity can damage delicate computer parts. Think of it like a tiny lightning strike. To avoid this, you need to ground yourself. This means touching a metal object that is connected to the ground.
- Touch a metal desk leg or the unpainted metal part of your PC case before you begin.
- Consider wearing an anti-static wrist strap. You can find them at most electronics stores.
- Keep your new graphics card in its anti-static bag until you’re ready to install it.
Gathering Your Tools
You won’t need a whole workshop. Most of the time, a single Phillips head screwdriver is all you need. Make sure it’s the correct size for the screws in your PC case.
Powering Down and Unplugging
This step is super important for your safety and the safety of your computer.
First, shut down your operating system normally. Then, flip the switch on the back of your power supply to the ‘O’ (off) position. Finally, unplug the power cord from the wall outlet. We found that unplugging is the safest bet. Don’t skip this step.
Opening Your Computer Case
Every computer case is a little different. Most cases have side panels that can be removed. These panels are usually held in place by screws on the back of the case. Sometimes, they might have tool-less latches.
Locating the Screws or Latches
Turn your PC so you can access the back. Look for screws along the edges of the side panel you want to remove. These are often thumb screws, which you can loosen by hand. If you don’t see screws, look for levers or latches.
Removing the Side Panel
Once the screws are loose or the latches are open, you should be able to slide the panel back and then lift it off. Gently set the panel aside. Now you can see the inside of your PC. Be sure to keep the screws somewhere safe so you don’t lose them.
Removing Your Old Graphics Card (If Applicable)
If you’re upgrading, you’ll need to take out the old card first. It’s usually plugged into a long slot on your motherboard. The slot is typically the longest one you see.
Disconnecting Power Cables
Your old graphics card might have power cables connected to it. These come directly from the power supply. They usually have clips that you need to press to release them. Gently pull the cables straight out.
Unfastening the Card from the Case
Graphics cards are secured to the back of your PC case with small screws. These screws go into the metal bracket of the card. Remove these screws. This frees the card from the case.
Releasing the Retention Clip
Motherboards have a small clip at the end of the graphics card slot. This clip locks the card in place. You’ll need to push or slide this clip to release it. This can sometimes be a bit stiff. Be gentle but firm. Once it’s released, the card should be loose.
Gently Removing the Old Card
With all screws and clips released, you can now carefully pull the graphics card straight up and out of its slot. Try to pull it out evenly. Place the old card in its original anti-static bag if you still have it.
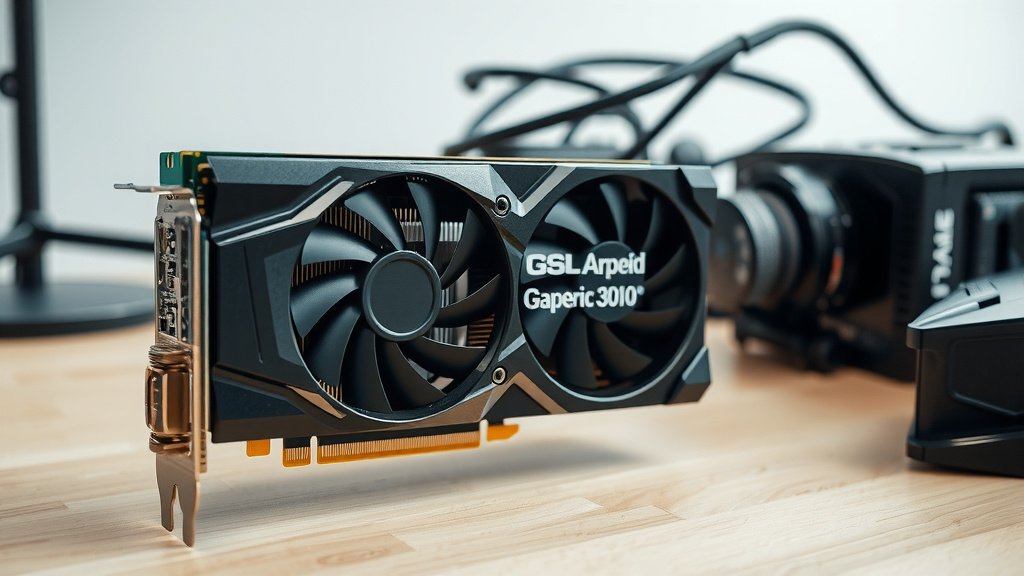
Installing Your New Graphics Card
This is the main event! Align your new card with the correct slot on your motherboard. It only fits one way, so don’t force it. You should feel it slide into place.
Seating the New Card Securely
Press down evenly on both ends of the graphics card until it clicks into place. The retention clip on the motherboard should snap shut, holding the card. Make sure the card is fully seated in the slot.
Securing the Card to the Case
Now, re-install the screws that hold the graphics card’s bracket to the back of your PC case. This keeps the card from shifting. Tighten them gently; you don’t want to strip the threads.
Connecting the Power Cables
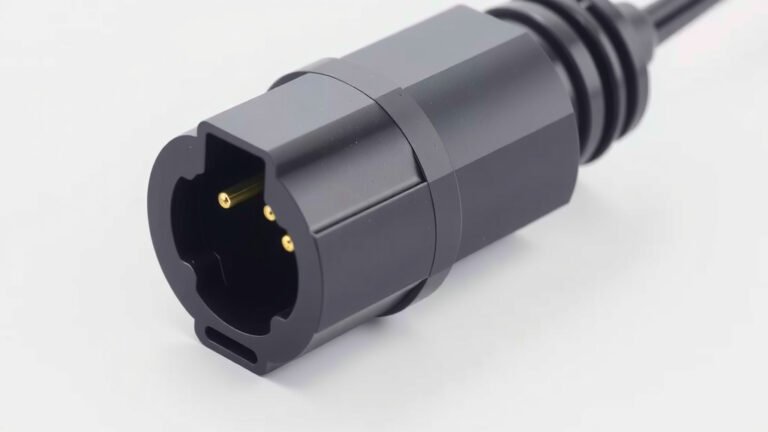
Your new graphics card likely needs power from the power supply. Look for PCIe power connectors on your power supply cables. These are usually 6-pin or 8-pin connectors. Plug them firmly into the corresponding ports on your new graphics card. You should hear a click.
Note: Check your graphics card’s manual to be sure which power connectors it needs. Some high-end cards may require two or even three separate power cables.
Final Steps and Powering Up
You’re almost done! Let’s put everything back together and get your PC running with its new graphics power.
Reattaching the Side Panel
Carefully slide the side panel back onto your PC case. Make sure it aligns correctly. Then, re-install the screws or engage the latches to secure the panel. Double-check that it’s firmly in place.
Plugging Everything Back In
Reconnect your monitor cable to the new graphics card ports. Then, plug in your power cord and flip the power supply switch back to the ‘I’ (on) position. Connect any other peripherals like your keyboard and mouse.
First Boot and Driver Installation
Turn on your PC. If everything is connected correctly, you should see the familiar boot-up screen. Windows will likely detect the new hardware. You’ll then need to install the latest drivers for your graphics card. You can usually download these from the manufacturer’s website (NVIDIA or AMD). We found that installing the latest drivers is essential for optimal performance. It’s like giving your new superpower the right instructions!
Quick Checklist for Installation Success
- Workspace is clean and well-lit.
- PC is powered off and unplugged.
- You’ve grounded yourself.
- Old card is removed and secured.
- New card is fully seated and screwed in.
- All necessary power cables are connected.
Conclusion
You’ve successfully navigated the process of installing your new graphics card! We found that taking it step-by-step, with safety in mind, makes this upgrade totally manageable. From grounding yourself to securing the card and installing drivers, you’ve given your PC a significant performance boost. Your computer is now ready for more demanding tasks, smoother gaming, and faster creative work. Now that your new graphics card is installed, the best next step is to enjoy the improved performance and see what your upgraded PC can do!
Frequently Asked Questions
What if my new graphics card doesn’t fit the slot?
Graphics cards are designed for specific slots, usually PCI Express (PCIe) x16. If it doesn’t fit, double-check that you are using the correct slot on your motherboard. Forcing the card could cause damage, so ensure it aligns perfectly before applying pressure.
How do I know if I need to connect extra power cables?
Most modern graphics cards require direct power from the power supply unit (PSU) beyond what the motherboard slot provides. Check the ports on your new card; if you see 6-pin or 8-pin power connectors, you’ll need to attach corresponding cables from your PSU. Your card’s manual will specify requirements.
My PC won’t boot after installing the new card, what’s wrong?
This usually means something isn’t seated correctly or a power connection is missed. First, power down and unplug everything. Re-open the case and ensure the graphics card is fully clicked into its slot and secured. Double-check all power cables are firmly connected to both the card and the PSU.
Do I really need to install new drivers?
Yes, installing the latest drivers is essential for your new graphics card to function correctly and at its best. Drivers act as the communication bridge between your hardware and software. We found that outdated or generic drivers can lead to performance issues or even prevent certain features from working.
Can I install a graphics card in any computer?
Generally, yes, but there are a few considerations. You need a compatible motherboard slot (typically PCIe x16) and a power supply unit with enough wattage and the correct connectors for your card. Also, ensure there’s enough physical space inside your computer case for the card’s dimensions.
![10 Best Budget Gpu Under $200 [2026]](https://spsolutionscare.com/wp-content/uploads/2026/09/10-best-budget-gpu-under-200-2026-featured-768x432.jpg)