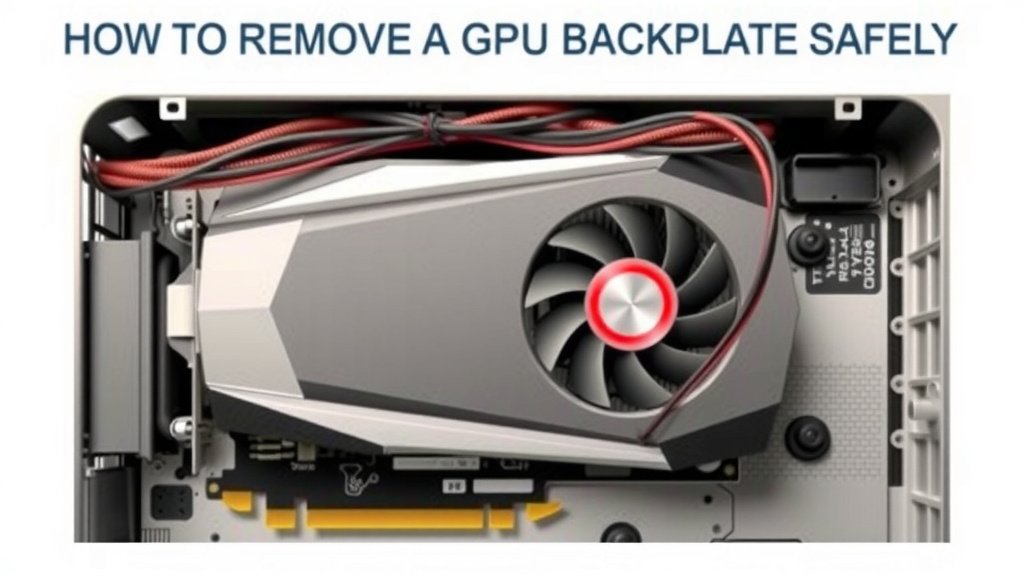
How to Remove a GPU Backplate Safely: Step-by-Step Guide
The easiest way to remove a GPU backplate is to power down your PC, unplug everything, take the graphics card out, and unscrew the small screws holding the backplate in place. Then gently lift the plate off. That’s really all there is to it.
So why would you want to take it off in the first place? Most people do it to clean dust buildup, replace thermal pads, or install a different cooler. We researched common mistakes people make, and we found that the biggest one is rushing — a stripped screw or bent bracket can turn a five-minute job into a bad day.
Here’s the quick version before we get into the details:
- Shut down your PC and unplug the power cable fully.
- Remove the GPU from your case before unscrewing anything.
- Keep track of every screw — they’re small and sneaky.
- Never pry the backplate off with force or metal tools.
- Work on a flat, static-safe surface like an anti-static mat.
Below, we walk through exactly how to remove a GPU backplate step by step, plus the tools you’ll need and a few safety tips that’ll save you some headaches.
Taking the Backplate Off Your Graphics Card
Removing a GPU backplate comes down to four things: power off, card out, screws out, plate off. Most backplates are held by four to six small screws, and some also clip onto the cooler with tabs. Work slowly and you’ll be done in about ten minutes.
Before you touch anything, though, let’s talk about why a little patience matters. GPUs cost hundreds of dollars. A slipped screwdriver can kill a memory chip in one second flat. We found that most horror stories start with someone “just loosening it real quick.”
Tools You’ll Need Before You Start
Here’s the good news. You don’t need anything fancy. In fact, you probably own most of this already.
- A Phillips #0 or #1 screwdriver — check your screws first, since sizes vary by brand.
- An anti-static wrist strap, or at minimum, a bare metal surface to touch.
- A small bowl or magnetic mat to hold screws.
- Isopropyl alcohol and a paper towel, if you’re swapping thermal pads.
- Good lighting. Trust us, hunting for a dropped screw on carpet is nobody’s idea of fun.
One tip from our research: snap a photo of your card before unscrewing anything. Future-you will thank present-you during reassembly.
Getting the Card Out Safely
Power Down the Right Way
Shut down Windows fully, flip your PSU switch off, and unplug the power cable. Then press your case’s power button for five seconds. This drains leftover electricity from the parts inside.
Why the extra button press? Because modern systems can hold a small charge even after shutdown. Many safety guides, including general static-control advice from the CDC’s electronics handling resources, recommend grounding yourself before touching internal components. Touch a bare metal part of your case to discharge any static.
Unplug and Unseat the Card
Squeeze the PCIe slot’s retention clip at the back of the card. It’s small and often hidden under the card itself. If you don’t press it, you’ll yank the slot out with the card — and that’s a repair nobody wants.
Next, remove the power cable and unscrew the bracket screws at the rear of the case. Pull the card straight out with even pressure. Wiggle gently if it resists, like loosening a tight jar lid.
Removing the Backplate Step by Step
With the card on a flat surface, PCB side down, you’re ready to go. Here’s where the actual backplate removal happens.
Locating the Screws
Flip the card so the backplate faces up. Look for small silver screws along the edges and around the display outputs. Some cards hide screws under stickers or rubber plugs — check those spots if you can’t find them all.
Some manufacturers, like ASUS and MSI, use screws attached to plastic washers. Don’t lose the washers. They keep the plate from over-tightening on reassembly.
Lifting the Plate Gently
After all screws are out, the plate should lift with light finger pressure. If it doesn’t move, don’t force it. Check again for a missed screw first.
Still stuck? Some plates are glued to thermal pads over the memory chips. Warm the card slightly by running it for a few minutes before shutdown — softening the pads makes separation easier. Then twist a plastic pry tool or old credit card under one corner, slowly. Never use a metal screwdriver for this.
Dealing with Stubborn Tabs
A few designs use metal tabs that bend into the shroud. These need a careful bend back with fingers or plastic pliers. Bend them once, gently. Metal fatigues fast, and a snapped tab means no clean way to reattach the plate later.
What to Do While You’re In There
The plate is off. Now what? This is the perfect moment for quick maintenance. Many experts say routine cleaning extends component life, and it only takes a few extra minutes. Our graphics card cleaning guide covers the whole process in more detail.
- Blow out dust with compressed air, holding fans still so they don’t spin.
- Inspect thermal pads for cracks or flattening.
- Replace pads if they look worn — thickness matters, so match the original size.
- Wipe the plate itself with a lightly dampened paper towel.
- Check the fan blades for wobble or debris.
If your pads are crusty or crumbled, replace them before reassembly. Running the card without pads or with dried-out ones can cause hot spots on the memory. Think of thermal pads like the gasket on a jar lid — when they flatten out, they stop doing their job.

Screw Types and Sizes at a Glance
Not all GPU screws are the same, and mixing them up can cause problems. We put together a quick reference to keep you organized.
| Screw Type | Where You’ll Find It | Typical Driver |
|---|---|---|
| Small Phillips (2–3 mm) | Backplate edges | Phillips #0 |
| Medium Phillips | Cooler shroud, bracket | Phillips #1 |
| Captive screws with washers | Backplate near outputs | Phillips #0 or #1 |
| Torx (rare) | Some premium cards | T6 or T8 |
Keep each group of screws separate as you remove them. A magnetic parts tray costs a few dollars and saves hours of floor-crawling.
Safety Mistakes to Avoid
We found that a handful of common errors cause nearly all backplate mishaps. Avoid these and you’re in great shape.
- Removing the backplate while the card is still in the case.
- Using a screwdriver that’s too big, stripping the screw heads.
- Prying with metal tools near the PCB.
- Losing track of which screw came from where.
- Working on carpet in sock feet — static is real.
- Forgetting to reconnect the power cable on reassembly.
That last one gets everyone eventually. You reassemble everything, hit the power button, and nothing happens. Ten seconds of checking cables beats ten minutes of panic.
When Should You Skip Backplate Removal?
Sometimes leaving the plate alone is the smarter call. If your card is still under warranty, check the manufacturer’s policy first. Some brands void coverage if seals or stickers are disturbed. Others are fine with it, as long as you don’t damage anything inside. If you’re weighing whether removal is worth it, our explainer on what a GPU backplate does can help you decide.
Also, if you only want to blow dust off, you can often clean around the edges without full removal. Ask yourself honestly: does the job actually need the plate off, or are you just curious? Curiosity is fine — just know the trade-off before you start.
Your Quick Pre-Removal Checklist
Run through this list before your first screw comes loose. It takes thirty seconds and prevents ninety percent of problems.
- PC shut down and power cable unplugged.
- Static discharged by touching bare case metal.
- Card fully removed from the PCIe slot.
- Correct screwdriver size confirmed.
- Screws sorted into a tray or labeled cups.
- Photo taken of the card before disassembly.
Once every box is checked, you’re ready to remove that backplate like a pro. Take it slow, keep the screws organized, and your GPU will be back in the case before your coffee gets cold.
Conclusion
Removing a GPU backplate isn’t a big mystery — it’s just a few small screws and a patient pair of hands. If you power down properly, take the card out first, match the right screwdriver, and keep every screw organized, you’re already ahead of most people. We found that the folks who run into trouble are almost always the ones who skipped the prep work. Your next step: gather your tools, snap that reference photo, and work through the checklist before touching a single screw. Ten careful minutes now beats a dead memory chip any day.
Frequently Asked Questions
Can I run my GPU without a backplate installed?
Technically yes, but we don’t recommend it for long. The backplate protects the PCB from dust, accidental contact, and physical damage. If you’re waiting on replacement thermal pads or screws, keep the card uninstalled in a safe spot instead.
Will removing the backplate void my GPU warranty?
It depends on the manufacturer. Some brands only care if you break something, while others are stricter about disturbed stickers or seals. Check the warranty policy for your specific card model before you start unscrewing anything.
Do I need to replace thermal pads every time I remove the backplate?
No, only if they’re visibly worn, cracked, or flattened. If the pads still look springy and intact, you can lift the plate off and reattach it without touching them. Just avoid tearing them during removal.
Why won’t my backplate come off even after removing all the screws?
Most likely, a screw is hiding under a sticker, rubber plug, or the logo plate. Some backplates also stick to thermal pads over the memory, so they need a gentle twist to separate. Never force it — check twice first.
Can I remove the backplate while the GPU is still in my PC?
Please don’t. Working inside a cramped case makes it far too easy to slip and scratch the PCB or drop a screw into the shroud. Removing the card takes two minutes and gives you a safe, flat workspace.
What screwdriver size do I need for a GPU backplate?
Most backplate screws use a Phillips #0, though some brands use #1 or even Torx heads. Test the driver in a screw before turning it — a loose fit strips the head fast. A small precision screwdriver kit covers nearly every card on the market.