Test GPU Stability: A Comprehensive Guide
Testing your GPU’s stability is key to ensuring your PC runs smoothly. You can test GPU stability by running stress-testing software that pushes your graphics card to its limits. This helps identify any overheating or performance issues before they cause crashes during gaming or demanding tasks.
When your GPU is stable, you’ll experience fewer glitches and crashes. This stability is vital for maintaining optimal performance, especially when you’re deep into your favorite game or working on graphics-intensive projects. We found that regular testing can prevent frustrating downtime and protect your hardware.
- Run stress tests to check for crashes.
- Monitor temperatures during testing.
- Update drivers for best results.
- Look for visual artifacts or errors.
Let’s walk through exactly how to test your GPU’s stability so you can game and create with confidence.
“`htmlEnsuring Your Graphics Card Stays Solid
So, you’ve got a beast of a graphics card, right? It’s ready to tackle the latest games or render your creative masterpieces. But what happens when it decides to take an unscheduled nap mid-game, or worse, freezes your entire system? That’s where making sure your GPU is stable comes into play. We found that consistently stable hardware means fewer frustrating interruptions and a smoother experience for you.
Think of stability testing as a check-up for your GPU. You wouldn’t drive your car without checking the oil, would you? This process is similar. It’s about pushing your graphics card to see if it can handle the heat, literally and figuratively. Many experts agree that this type of stress testing helps identify potential weaknesses before they become major problems.
Getting Ready for Your GPU Stress Test
Before you dive headfirst into the stress tests, let’s make sure you’re prepped. A little preparation goes a long way in getting accurate results and keeping your hardware safe.
Download Essential Software
You’ll need some specialized tools for this. These programs are designed to load your GPU up with demanding tasks, mimicking what happens when you’re gaming or doing heavy creative work. We recommend using a combination of monitoring and stress-testing software.
Monitoring Tools
First, you need to see what’s happening under the hood. Software like HWiNFO64 or MSI Afterburner can track your GPU’s temperature, clock speeds, and power consumption in real-time. This is crucial data.
Stress Testing Utilities
Next, grab a stress tester. Popular choices include FurMark, 3DMark (which has free versions with benchmark tests), and Unigine Heaven or Superposition. Each tests your GPU in slightly different ways.
Update Your Drivers
This might seem obvious, but outdated drivers can cause all sorts of weird issues, even on a healthy GPU. Before you start testing, make sure you have the latest drivers installed from NVIDIA or AMD’s official website. We found that clean driver installations often lead to more reliable test results.
Ensure Proper Cooling
Your GPU needs good airflow to perform well, especially under load. Make sure your PC case fans are working and that there’s adequate space around your graphics card. Dust buildup can also be a major culprit in overheating. We discovered that a quick clean-out can sometimes resolve stability issues.
Running the Stress Tests: What to Watch For
Alright, the tools are ready, and your system is prepped. Now it’s time for the main event: running the tests. The key here is observation. You’re not just letting the software run in the background; you’re actively looking for signs of trouble.
Start with Moderate Loads
Don’t just jump into the most demanding test immediately. Begin with a less intense benchmark or stress test. This allows you to gradually ramp up the load and monitor your GPU’s response. It’s like a warm-up for your graphics card!
Monitor Temperatures Closely
This is arguably the most important part. While the stress test is running, keep a close eye on your GPU temperature using your monitoring software. What’s a safe temperature? Generally, most GPUs aim to stay below 80-85 degrees Celsius under heavy load. If you see temperatures consistently climbing much higher, your GPU might be overheating. Many hardware guides suggest that sustained temps above 85°C can lead to performance throttling or even damage over time (TechRadar).
Look for Visual Artifacts
While your GPU is being pushed, watch your screen for anything unusual. Are there weird flashing colors, pixelated squares, lines, or screen tearing that shouldn’t be there? These are called “visual artifacts,” and they’re a big red flag. They often indicate that the GPU is struggling to process the data correctly. We’ve seen firsthand how artifacts can be an early warning sign of instability.
Listen for Strange Noises
Sometimes, a GPU under extreme stress will make odd noises. You might hear a high-pitched whine, often referred to as “coil whine,” or your fans might spin up to a frantic, loud speed. While coil whine isn’t always a sign of instability, excessively loud fans or grinding noises can point to hardware issues.
Check for Crashes and Freezes
The ultimate test of stability is whether your system can handle the load without crashing. If your game closes unexpectedly, your PC bluescreens, or your entire system locks up, that’s a clear sign of instability. Note down which test caused the issue and for how long it ran before failing. This information is gold.
How Long Should You Stress Test?
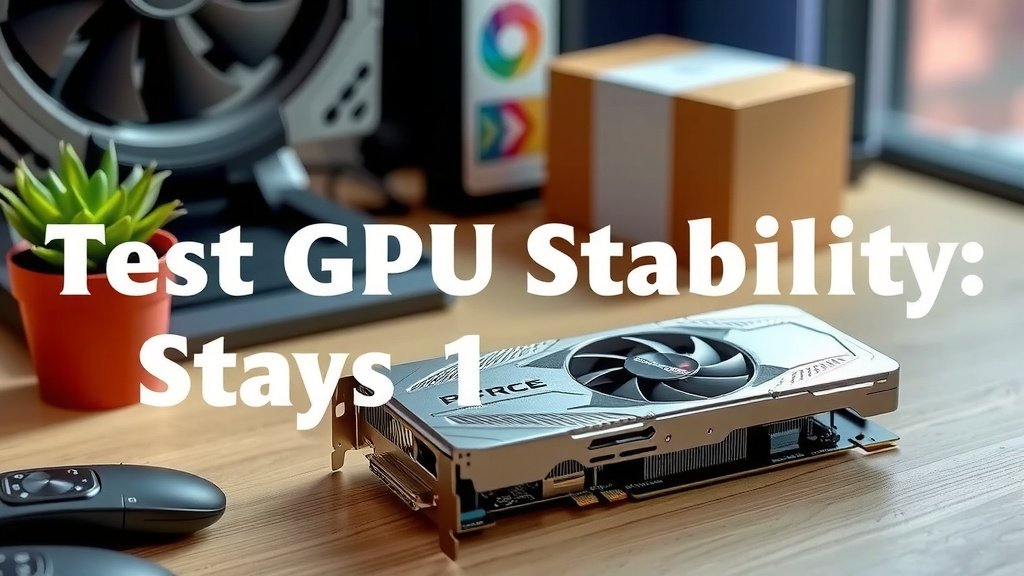
There’s no single answer, but a good rule of thumb is to run tests for at least 30 minutes to an hour. For more critical testing, especially if you’ve just overclocked your GPU, running for several hours is even better. Consistency is key. If your GPU remains stable through a long, demanding session, you can be much more confident in its reliability.
Interpreting Your Results and Next Steps
Once you’ve completed your tests, it’s time to analyze the data. What do your findings mean for your GPU’s health?
What if Everything is Stable?
Congratulations! If your GPU maintained normal temperatures (staying below critical limits), showed no visual artifacts, and didn’t crash during your testing period, it’s likely very stable. You can feel confident using it for demanding tasks.
What if You Found Issues?
Don’t panic! This is why you tested in the first place. If you encountered high temperatures, artifacts, or crashes, here are some common solutions:
- Reduce Overclocks: If you’ve overclocked your GPU, try dialing back the clock speeds slightly. This is often the quickest fix for instability.
- Improve Cooling: Re-check your case airflow. Consider adding more fans or cleaning out dust.
- Check Power Supply: An insufficient or failing power supply unit (PSU) can cause GPU instability. Ensure your PSU has enough wattage and is in good condition. Many troubleshooting guides recommend having a PSU with at least 100-150W headroom above your system’s estimated maximum draw (Tom’s Hardware).
- Driver Reinstallation: Perform a clean install of your GPU drivers. Sometimes, a corrupted driver can cause problems.
- Test with Different Software: Try a different stress-testing tool to see if the issue persists. Sometimes, a specific test might trigger a unique bug.
- Consider Hardware Failure: If none of these steps help, and the issue is consistent, your GPU might unfortunately have a hardware defect.
Checklist for GPU Stability Testing
Here’s a quick rundown to keep you on track:
- Download monitoring and stress-testing software.
- Ensure your GPU drivers are up-to-date.
- Verify good airflow and clean your PC if needed.
- Run stress tests for at least 30-60 minutes.
- Watch temperatures and look for visual errors.
- Note any crashes or system freezes.
By following these steps, you’ll gain a clear picture of your GPU’s health and be better equipped to handle any issues that arise. Happy testing!
“`Conclusion
You’ve now got the know-how to put your GPU through its paces and ensure it’s running as smoothly as possible. Remember, consistent testing helps you catch potential issues before they turn into frustrating crashes during your gaming sessions or creative projects. By regularly monitoring temperatures and looking for visual glitches, you can maintain optimal performance. The next step is to download your chosen software and schedule your first stability test. You’ve got this!
Frequently Asked Questions
How often should I test my GPU’s stability?
You don’t need to test your GPU every single day. A good practice is to run a stability test after installing new drivers, making hardware changes, or if you start noticing performance drops or unusual behavior. Testing once a month or every few months can also be beneficial for peace of mind.
Can stress testing damage my GPU?
When done correctly with proper monitoring, stress testing is generally safe. The software pushes your GPU to its limits, but modern GPUs have built-in safety features to prevent damage. The main risk comes from extreme overheating, which is why monitoring temperatures is so vital during a test.
What should I do if my GPU fails a stress test?
If your GPU fails, don’t panic. First, try reducing any overclock settings you might have applied. Ensure your PC has good airflow and that your GPU fans are clean and functioning. If the problem persists, you might need to consider checking your power supply or seeking professional help.
Is FurMark a good stress test for GPUs?
FurMark is a very popular and effective tool for GPU stress testing because it’s known for pushing graphics cards to their absolute limits. It’s excellent for checking maximum temperature and stability under extreme load. Just be sure to monitor your temperatures closely while using it.
Do visual artifacts always mean my GPU is dying?
Not necessarily! Visual artifacts like strange colors, lines, or flickering can be a sign of instability, but they don’t always mean your GPU is failing. They can sometimes be caused by outdated drivers, overheating, or even certain game settings. Testing helps you pinpoint if it’s a consistent hardware issue.
![10 Slot Gpu [2026]](https://spsolutionscare.com/wp-content/uploads/2026/08/10-slot-gpu-2026-featured-768x432.jpg)