Upgrade Your Graphics Card: A Step-by-Step Guide
Upgrading your graphics card is a great way to boost your computer’s performance for gaming and creative tasks. You can absolutely upgrade your graphics card yourself by following a few key steps. This process typically involves opening your computer case, removing the old card, and installing the new one. It’s often easier than you think and can make a huge difference in your PC’s capabilities.
When you upgrade your GPU, you’re essentially swapping out the component responsible for rendering images on your screen. A new graphics card can lead to smoother gameplay, faster video editing, and the ability to run more demanding applications. We found that many users worry about compatibility, but with a little research, ensuring your new card works with your system is manageable.
- Upgrading your graphics card is possible and can improve PC performance.
- It involves physically swapping out the old component for a new one.
- This upgrade can lead to better gaming and creative application speeds.
- Checking for compatibility is an important step.
Below, we’ll walk you through exactly how to upgrade your graphics card step by step, making sure you feel confident throughout the process.
“`htmlReplacing Your Graphics Card: A Step-by-Step Guide
Swapping out your old graphics card for a new one might sound daunting, but it’s quite achievable. We found that most users can complete this upgrade successfully with careful attention. This guide will walk you through each stage. You’ll learn what to prepare and how to perform the physical installation. Let’s get your PC running better than ever.
Before You Begin: Preparation is Key
Choosing the Right Graphics Card for Your System
Picking the perfect graphics card is the first major step. You want something that fits your needs and your computer. Compatibility is your friend here. Always check the physical dimensions of the card against your computer case’s interior. Not all cards fit everywhere. You also need to consider the card’s power draw. Does your power supply unit (PSU) have enough wattage? We found that checking the card’s specifications against your PSU’s capacity is essential. A good rule of thumb is to have at least 100-150 watts headroom above the card’s recommended PSU requirement. This ensures stability.
Ensuring Power Supply Compatibility
Your power supply unit (PSU) is the heart of your PC’s energy. Graphics cards can be power-hungry components. Many modern GPUs require dedicated PCIe power connectors. Your PSU must have these available. You can usually find this information on the PSU itself or in its manual. Research shows that using an underpowered PSU can lead to performance issues or even system instability. Don’t guess; verify!
Checking for Physical Space and Connectors
When you’re looking at new cards, notice their length, height, and width. Some high-end cards are quite large. They might be longer than your motherboard or taller than your drive bays. Measure the available space inside your computer case. Also, check the motherboard’s PCIe slot. Most modern graphics cards use a PCIe x16 slot. Ensure your motherboard has at least one free slot of the correct type. We’ve seen cases where users bought a card only to find it wouldn’t physically fit. It’s a real bummer.
Gathering Your Tools and Safety Gear
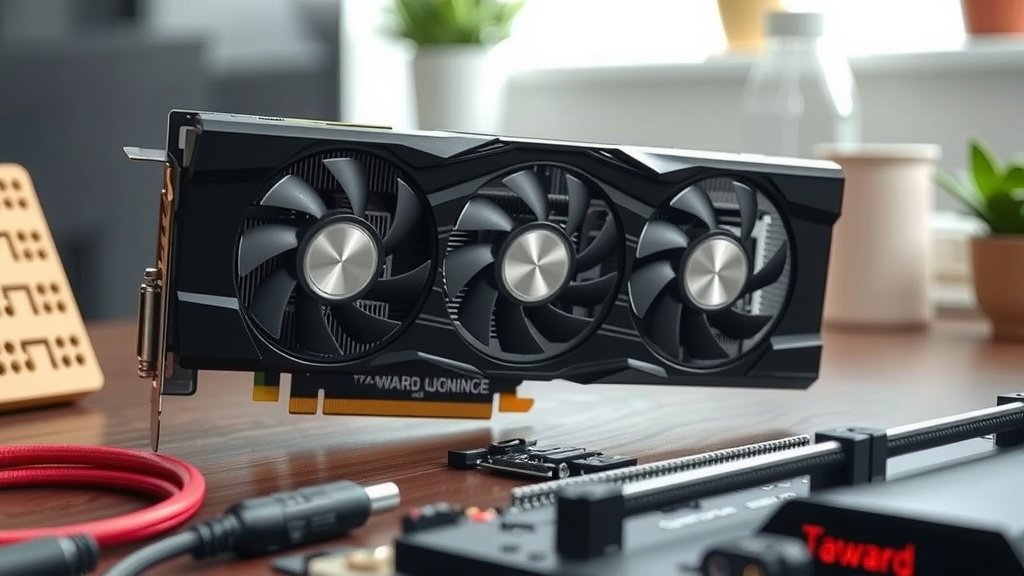
Before you open your PC, gather what you need. You’ll want a Phillips head screwdriver, usually a medium size. An anti-static wrist strap is also a smart safety measure. Static electricity can damage sensitive computer components. You can get one at most electronics stores. Make sure you have a well-lit workspace. Having a small container for screws is also handy. You don’t want to lose any tiny parts!
The Installation Process: Step-by-Step
Powering Down and Disconnecting Your PC
This might seem obvious, but it’s critical. Completely shut down your computer through the operating system. Don’t just put it to sleep. Once it’s off, flip the power switch on the back of your PSU to the ‘O’ (off) position. Then, unplug the power cord from the wall outlet. Disconnect all other cables, like your monitor, keyboard, and mouse. Move your PC to your workspace.
Grounding Yourself to Prevent Static Discharge
Before touching any internal components, ground yourself. If you have an anti-static wrist strap, wear it. Connect one end to your wrist and the other to an unpainted metal part of your computer case. If you don’t have a strap, simply touch an unpainted metal part of the case for a few seconds. Doing this periodically while you work helps dissipate static electricity. Static is sneaky and can fry your components without you even feeling it.
Opening Your Computer Case
Most computer cases have side panels secured by screws at the back. Carefully remove these screws. Once loose, the side panel should slide back or swing open. Consult your case’s manual if you’re unsure how yours opens. It’s usually straightforward, but every case is a little different.
Locating and Removing the Old Graphics Card
Inside your case, the graphics card is usually the largest component plugged into the motherboard. It will have display ports (like HDMI or DisplayPort) facing the back of the case. First, disconnect any power cables running from the PSU to the graphics card. These often have clips you need to press. Next, find the locking tab on the PCIe slot on the motherboard. Gently press or slide this tab to release the card. There might also be screws securing the card’s bracket to the case. Remove these. Once everything is disconnected and unfastened, you can carefully pull the old graphics card straight up and out of the slot. Be gentle; don’t force it.
Installing the New Graphics Card
Take your new graphics card out of its anti-static packaging. Align it with the empty PCIe x16 slot. Gently but firmly press the card straight down into the slot until it clicks into place and the locking tab on the slot engages. Ensure it’s seated evenly. Reconnect any required PCIe power cables from your PSU to the new card. Make sure they click securely. Re-attach the card’s bracket to the computer case, securing it with screws.
Closing Up and Reconnecting Everything
Carefully replace the computer case side panel. Secure it with the screws you removed earlier. Reconnect all your external cables: power cord, monitor, keyboard, mouse, etc. Make sure your monitor is plugged into the new graphics card’s ports, not the motherboard’s.
Initial Boot-Up and Driver Installation
Turn on your PSU switch and then press your computer’s power button. Your computer should boot up. You might see a slightly lower resolution initially. This is normal. The next step is to install the drivers for your new graphics card. Go to the manufacturer’s website (NVIDIA or AMD) and download the latest drivers for your specific card model and operating system. Install them following the on-screen prompts. After installation, restart your computer. You should now have the full performance of your new graphics card!
Here’s a quick checklist to keep you on track:
- Confirm your new GPU fits your case and PSU.
- Gather your tools: screwdriver and anti-static strap.
- Power down, unplug, and ground yourself.
- Carefully remove the old graphics card.
- Install the new card firmly into the PCIe slot.
- Connect power cables and secure the card.
- Install the latest drivers for your new GPU.
Conclusion
You’ve now learned the essential steps to upgrade your graphics card. We’ve covered how to check compatibility, gather your tools, and safely perform the physical installation. Remember, careful preparation is key to a successful upgrade. Taking the time to ensure your new card fits and your PSU can handle it prevents headaches later. Once installed, don’t forget those crucial driver updates for optimal performance. You’re now ready to enjoy a noticeably better PC experience!
Frequently Asked Questions
How do I know if my new graphics card will fit in my computer case?
You’ll need to measure the available space inside your computer case. Pay attention to the length, height, and width of potential graphics cards. Compare these dimensions to the interior of your case, noting any obstructions like drive bays or other components. Many GPU manufacturers list the card’s physical dimensions on their product pages.
What happens if my power supply isn’t strong enough for the new graphics card?
If your power supply unit (PSU) can’t provide enough wattage, your computer may become unstable. You might experience random shutdowns, performance issues, or failure to boot entirely. It’s also possible to damage components if the PSU is severely overloaded. Always check the recommended PSU wattage for your new GPU and compare it to your PSU’s capacity.
Do I need to uninstall the old graphics card drivers before installing the new card?
While not strictly mandatory, it’s a good practice to uninstall your old graphics card drivers before installing the new hardware. This can help prevent driver conflicts. You can use a utility like Display Driver Uninstaller (DDU) for a clean removal. After installing the new card, you’ll install its specific drivers.
Can I use the monitor ports on my motherboard after installing a new graphics card?
No, you should always plug your monitor into the ports on your new graphics card. The motherboard’s integrated graphics ports will be disabled once a dedicated graphics card is installed and recognized by the system. Connecting to the motherboard ports will result in no display or a very low-resolution image.
How long does it typically take to upgrade a graphics card?
For most users, the physical installation process of swapping out a graphics card takes about 30 minutes to an hour. This includes powering down, opening the case, removing the old card, installing the new one, closing the case, and reconnecting everything. Installing the new drivers and rebooting adds a bit more time.
![10 Best Amd Gpu Currently [2026]](https://spsolutionscare.com/wp-content/uploads/2026/08/10-best-amd-gpu-currently-2026-featured-768x432.jpg)
![10 Best Brand For 7900 Xtx [2026]](https://spsolutionscare.com/wp-content/uploads/2026/08/10-best-brand-for-7900-xtx-2026-featured-768x432.jpg)