
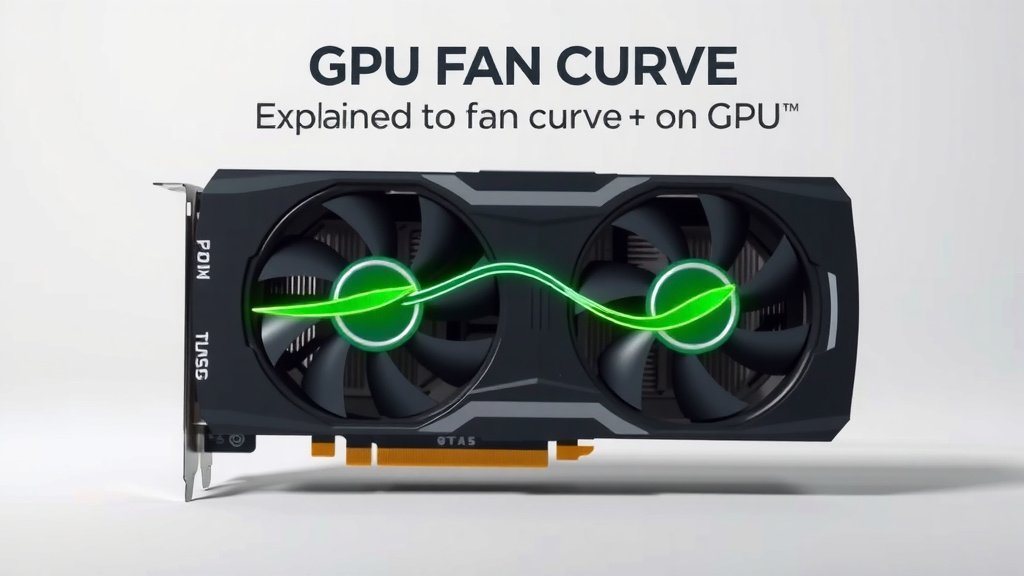
GPU Fan Curve Explained: Optimize Your Cooling
A fan curve on your GPU is essentially a customized fan speed setting. It tells your graphics card’s fans exactly how fast to spin based on your GPU’s temperature. You get to control this, making sure your card stays cool without being annoyingly loud. It’s a smart way to manage performance and noise.
Think of it like a thermostat for your GPU’s fans. You’re setting the rules for when they kick into high gear. Many gamers find adjusting the fan curve is key to keeping their rig happy during intense gaming sessions. It’s about finding that perfect balance between cooling and how much noise you can tolerate.
- A GPU fan curve controls fan speed based on temperature.
- It helps balance cooling performance and noise levels.
- You can customize it for your specific needs.
- Adjusting it can improve your GPU’s lifespan and gaming experience.
Ready to take control of your GPU’s cooling? Let’s dive into what a fan curve really is and how you can set one up yourself.
Understanding Your GPU’s Fan Performance
So, you’ve heard about GPU fan curves and are wondering what exactly they are and why you should care? Simply put, a GPU fan curve is your personal thermostat for your graphics card’s cooling system. It’s a chart that dictates how fast your GPU’s fans should spin based on the card’s temperature. You get to draw this chart! This custom control can make a big difference in your PC’s performance and how quiet it stays.
Think of your GPU fans like the cooling fans in your car. When the engine gets hot, the fans speed up to cool it down. Your GPU works the same way. When it’s working hard, like during intense gaming, it generates a lot of heat. The fans spin faster to dissipate that heat. A fan curve lets you fine-tune this process. You decide when those fans start spinning and how quickly they ramp up. It’s all about finding that sweet spot between keeping your GPU cool and managing noise.
Why Bother With a Fan Curve?
You might be asking yourself, “Why should I mess with this?” Well, the default fan settings on GPUs are often a compromise. Manufacturers try to balance cooling needs with noise complaints from a wide range of users. This means the default settings might not be ideal for your specific setup or your personal tolerance for noise. Maybe your case has great airflow, and your GPU doesn’t need to scream at 80% fan speed. Or perhaps you’re really sensitive to fan noise during quiet moments in a game.
Adjusting your fan curve gives you direct control over these settings. This can lead to several benefits. Firstly, it can improve your GPU’s performance by keeping it cooler. When GPUs get too hot, they often “throttle” themselves, meaning they reduce their speed to prevent damage. A good fan curve can prevent this throttling, allowing your GPU to run at its full potential for longer periods. This is especially helpful for demanding games or tasks like video editing.
Performance Benefits Explained
We found that letting your GPU run hotter than necessary can lead to performance dips. For example, if your GPU hits 80 degrees Celsius, it might start to slow down. By creating a fan curve that kicks in a bit earlier or spins a bit faster at those temperatures, you can keep it below the throttling point. Many tests show that even a few degrees Celsius can make a difference in maintaining consistent frame rates. This means smoother gameplay for you.
Noise Management
On the flip side, you might be perfectly happy with your GPU’s temperature, but find the fan noise a bit much. You can use a fan curve to create a quieter experience. Perhaps you want your fans to stay at a low, inaudible speed until the GPU reaches a certain temperature, say 60 degrees Celsius. You can set it so they only ramp up significantly when the GPU is under heavy load. This can make a huge difference when you’re not gaming, or even during less intense gaming moments. It’s about making your PC fit your lifestyle, not the other way around.
How Does a GPU Fan Curve Work?
At its core, a fan curve is a graph. The horizontal axis (X-axis) represents your GPU’s temperature in degrees Celsius. The vertical axis (Y-axis) represents the fan speed as a percentage, from 0% (off) to 100% (maximum speed). You’ll see a line plotting this relationship. Points on this line indicate a specific fan speed for a specific temperature.
For instance, you might set a point at 40°C with a fan speed of 30%. Then, another point at 60°C with a fan speed of 50%, and a final point at 80°C with a fan speed of 80%. When your GPU temperature is between 40°C and 60°C, the software will calculate the fan speed proportionally between 30% and 50%. If the temperature goes above 80°C, the fans might be set to go to 100% to protect the card. This mapping is what we call the fan curve.
Key Components of a Fan Curve
When you’re setting up a fan curve, you’re essentially defining several important points or segments:
- Idle Speed: This is the fan speed when your GPU is doing very little, like when you’re browsing the web or using a word processor. You’ll want this to be very low, perhaps even 0% if your card supports it, for maximum quietness.
- Ramp-up Points: These are the temperatures at which you want your fans to start spinning faster. You can have multiple ramp-up points to create a gradual increase in fan speed.
- Maximum Speed Point: This is the temperature at which you want your fans to reach their highest speed. This is your safety net for when the GPU is under extreme stress.
- Fan Speed Percentage: For each temperature point, you assign a percentage for how fast the fans should spin.
Fan Curve Software Options
You don’t need to be a hardware engineer to set up a fan curve. Software makes it pretty straightforward. The most common way to manage your GPU fan curve is through software provided by the GPU manufacturer or third-party tools.
For NVIDIA GPUs, the NVIDIA Control Panel has basic fan control options, but many users prefer a more robust solution like MSI Afterburner. MSI Afterburner is a popular free tool that works with most NVIDIA and AMD cards. It offers a user-friendly interface for creating and saving custom fan curves. For AMD GPUs, you can use the AMD Radeon Software. It provides built-in options for adjusting fan speed based on temperature. We found that MSI Afterburner is often recommended for its versatility and ease of use.
Using MSI Afterburner Example
With MSI Afterburner, you typically go into the settings and find the fan tab. You’ll see a graph where you can click and drag points to create your desired curve. You can save different profiles, like a “Silent” profile for general use and a “Performance” profile for gaming. Remember to hit “Apply” and “OK” to save your changes. It’s that simple to get started!
Creating Your Ideal Fan Curve: A Practical Approach
Setting up a fan curve is a bit of an art, but there are some tried-and-true methods. The goal is to find a balance that works for you. Here’s how you can approach it:
First, monitor your GPU’s temperature and fan speeds under different loads. Use software like MSI Afterburner or HWMonitor. Run a demanding game or benchmark for about 15-20 minutes. Note the maximum temperature your GPU reaches and what the fan speed was at that point. Also, pay attention to the noise levels. Are the fans too loud? Is the GPU getting too hot?
Step-by-Step Fan Curve Creation
Let’s break down the process into actionable steps:
- Start with Defaults: Begin with the default fan settings.
- Monitor: Play your favorite game and monitor temps and fan speeds using monitoring software.
- Identify Throttling: If your GPU hits high temps (often 80°C+) and its clock speeds drop, you know you need better cooling.
- Adjust Fan Curve: Open your fan control software (like MSI Afterburner).
- Low Speed for Idle: Set a low fan speed for idle temps (e.g., 20-30% below 50°C).
- Gradual Ramp-Up: Create points that gradually increase fan speed as temps rise. Aim for your GPU to stay below 75-80°C under load.
- Aggressive Cooling When Needed: Set a higher fan speed (e.g., 70-80%) around 70-75°C for demanding situations.
- Test and Refine: Play your game again. Did temps improve? Is the noise acceptable? Repeat steps 4-7 until you’re satisfied.
Tips for a Better Fan Curve
Here are a few pointers to help you craft the perfect fan curve:
- Don’t Set Fans to 0% Too Long: While tempting for silence, letting fans run at 0% for too long can cause heat to build up quickly. Many experts suggest keeping fans spinning at a minimum of 20-30% once a certain temperature threshold is crossed (like 50-60°C) (TechRadar).
- Avoid Stuttering Fan Speeds: Rapidly fluctuating fan speeds can be annoying and potentially wear out the fan motors faster. Aim for a smooth, gradual curve.
- Consider Your Case Airflow: If your PC case has excellent airflow, you might be able to get away with lower fan speeds. Poor airflow means you’ll likely need more aggressive fan settings.
- Listen to Your Ears: Ultimately, the best fan curve is one that keeps your GPU cool enough for stable performance without being annoyingly loud for your environment.
It might take a few tries to get it just right. Don’t be afraid to experiment! Your GPU will thank you for keeping it cool.
| Strategy | Pros | Cons | Best For |
|---|---|---|---|
| Silent Curve | Very quiet operation at idle and light loads. | GPU might run hotter under heavy load, potentially leading to throttling. | Users prioritizing silence over peak performance. |
| Balanced Curve | Good mix of cooling and noise. Prevents throttling. | Fans may become audible during intense gaming. | Most gamers and general users. |
| Performance Curve | Keeps GPU temperatures very low, maximizing performance. | Can be quite loud, even at moderate loads. | Enthusiasts seeking maximum frame rates and minimal throttling. |
Conclusion
You’ve learned that a GPU fan curve is your direct line to managing your graphics card’s cooling. It’s not just about raw performance; it’s about finding that perfect harmony between keeping your GPU frosty and enjoying a peaceful gaming session. By customizing fan speeds, you can prevent overheating, avoid performance throttling, and even reduce distracting noise. This control ensures your powerful hardware runs at its best for longer.
Ready to put this knowledge to work? Your next step is to open up your chosen fan control software, like MSI Afterburner or AMD Radeon Software, and start tweaking. Experiment with different settings based on your gaming habits and comfort level. Your GPU, and your ears, will thank you.
Frequently Asked Questions
Can setting my GPU fans to 0% actually damage my card?
Running your GPU fans at 0% for extended periods, especially under load, can lead to rapid heat buildup. This can cause your GPU to overheat and potentially throttle performance. While short idle periods are usually fine, many experts suggest setting a minimum fan speed once temperatures rise slightly to prevent excessive heat.
How often should I check or adjust my GPU fan curve?
You generally don’t need to adjust your fan curve often once you’ve found a setting you like. However, it’s a good idea to re-evaluate if you experience new overheating issues, notice significantly more noise, or if you’ve changed your PC case or added new components that affect airflow.
Will adjusting my fan curve void my GPU’s warranty?
In most cases, adjusting fan curves through software provided by the manufacturer or reputable third-party tools will not void your warranty. These are considered user-configurable settings. However, always check your specific GPU manufacturer’s warranty terms to be absolutely sure.
Is a more aggressive fan curve always better for my GPU?
Not necessarily. While a more aggressive fan curve will keep your GPU cooler, it also means more noise. The “best” curve balances adequate cooling to prevent throttling with an acceptable noise level for your environment. Pushing fans too hard constantly might also contribute to faster wear over a very long time, though this is less of a concern than overheating.
What’s the difference between a “Silent” and “Performance” fan curve?
A “Silent” fan curve prioritizes minimal noise by keeping fan speeds low, even if it means slightly higher temperatures. A “Performance” fan curve prioritizes the lowest possible temperatures by running fans faster, which results in more noise. A “Balanced” curve aims to find a middle ground between the two.

![10 Best Cheap Graphics Card For Gaming Pc [2026]](https://spsolutionscare.com/wp-content/uploads/2026/09/10-best-cheap-graphics-card-for-gaming-pc-2026-featured-768x432.jpg)
![10 Version [2026]](https://spsolutionscare.com/wp-content/uploads/2026/08/10-version-2026-featured-768x432.jpg)