How to Replace a GPU Cooler: Step-by-Step Guide (October 2026)
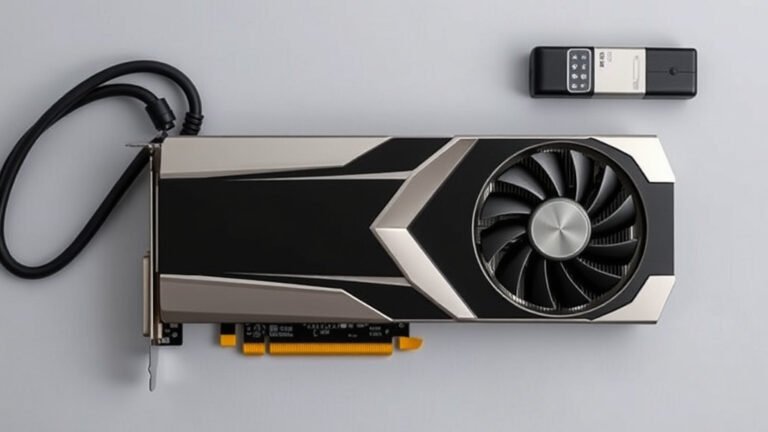
The easiest way to replace a GPU cooler is to remove your graphics card, unscrew the old cooler from the PCB, clean off the old thermal paste, and mount the new cooler with fresh paste. Most swaps take about 30 to 45 minutes with a basic screwdriver. No engineering degree required, we promise.
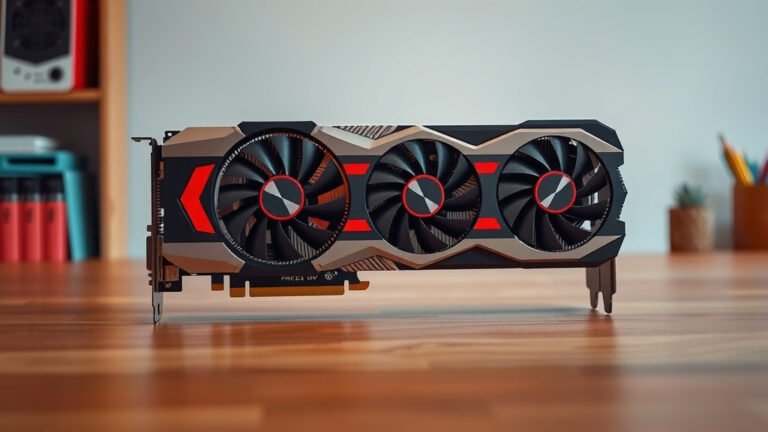
So why bother? A worn-out or loud cooler can push your GPU temperatures into dangerous territory and throttle your performance. Replacing it can mean quieter gaming, lower temps, and a longer life for your card. We researched common cooler swaps and found that preparation is what separates a smooth upgrade from a sweaty-palm disaster.
- Shut down your PC and remove the graphics card first.
- Unscrew the old cooler carefully to avoid damaging the PCB.
- Clean off all old thermal paste with isopropyl alcohol.
- Apply fresh paste and mount the new cooler evenly.
- Test temps before closing everything back up.
Ready to give your graphics card a breath of fresh air? Below, we walk you through replacing a GPU cooler step by step, so you can do it right the first time.
Swapping Out Your GPU Cooler: What You’ll Need First
Before you touch a single screw, gather your tools. We found that the most common reason swaps go sideways is a missing tool halfway through, when your card is already in pieces on the desk. Not a fun place to be.
Here’s your shopping list. Most of it is probably already in your junk drawer:
- A Phillips head screwdriver (small, precision-style works best)
- Isopropyl alcohol, 90% or higher
- Lint-free cloths or coffee filters
- Fresh thermal paste
- A small tray or magnetic mat for screws
- Optional but handy: an anti-static wrist strap
One more thing. Check that your replacement cooler actually fits your card model. Many aftermarket coolers are made for specific PCB layouts, and we found that “close enough” usually means “doesn’t make contact.” Double-check the compatibility list before you buy.
Getting Your Graphics Card Out Safely
First, power down completely. Flip your PSU switch off and unplug the cable. Then press the power button once to drain leftover electricity. This step takes ten seconds and prevents a nasty surprise.
Next, unscrew the bracket holding your card to the case and press the PCIe slot release tab. That little tab hides at the end of the slot, and yes, everyone forgets it the first time. Gently pull the card free and unplug the power connectors.
Protecting the Card While You Work
Lay the card on a flat, non-carpeted surface. An anti-static bag under it works great. Avoid sliding the card across carpet or fleece blankets, since static discharge can quietly kill components. Many experts recommend grounding yourself by touching your PC’s metal case before handling parts (Intel). Your GPU is tougher than it looks, but why gamble?
Removing the Old Cooler Without Breaking Anything
Flip the card so the fans face up. You’ll see screws connecting the cooler to the PCB, often hidden under the shroud or behind stickers. Most cards use four to eight screws here, plus the backplate screws on the reverse side.
Here’s the trick we found that saves headaches: loosen all screws a little at a time, in a crisscross pattern, like loosening lug nuts on a car tire. Prying one corner off first can bend the PCB. Bent PCBs equal a very bad day.
Dealing with Stubborn Fans and Cables
Fan cables usually plug into tiny headers on the PCB or card’s side edge. Note where each one goes before unplugging. A phone photo works wonders here. Take two, future-you will thank present-you.
If the cooler feels glued down by old thermal paste, don’t yank it. Twist gently, like loosening a stubborn jar lid. Forcing it can rip small surface components right off the board.
Cleaning Off Old Thermal Paste the Right Way
Once the cooler is off, you’ll see dried paste on both the GPU die area and the cooler’s cold plate. It looks a bit like dried toothpaste. Dampen a coffee filter with isopropyl alcohol and wipe in one direction, turning the filter often.
Keep going until both surfaces shine. Any leftover paste creates air gaps, and air gaps mean poor heat transfer. According to guidance from thermal paste makers, a thin, even layer is all you need. More paste is not better paste. Think peanut butter on toast, not frosting on cake.
Installing Your New GPU Cooler
Now for the fun part. Apply a small dot of paste, about the size of a grain of rice, to the center of the GPU die. Some people spread it thinly instead. Either method works fine; consistency matters more than style.
Lower the cooler straight down onto the card. Don’t slide it sideways, or you’ll push paste off the die and leave gaps. Then tighten the screws in the same crisscross pattern, snug but not gorilla-tight.
Checking Mounting Pressure and Fit
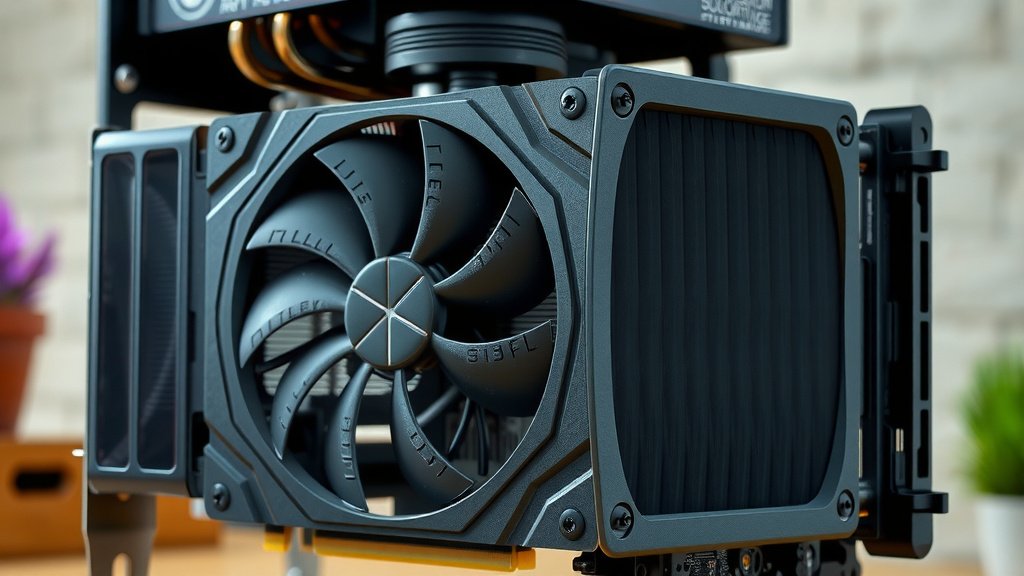
The cooler should sit flat with no visible gaps. If one corner lifts, loosen everything and start the tightening pattern again. Uneven mounting is the top cause of high temps after a cooler swap, based on what we found in enthusiast forum reports and teardown guides.
Wiring Up Fans and Testing Temperatures
Reconnect every fan cable to its original header. This is where that phone photo earns its keep. A fan plugged into the wrong header may spin at full speed constantly, or worse, not spin at all.
Install the card back into your PC, plug in power cables, and boot up. Before closing the case, run a quick monitoring tool like HWiD or your GPU maker’s software and watch temperatures during a game or stress test.
What Good Temps Look Like
Under load, most modern cards should stay between 60 and 85 degrees Celsius. NVIDIA and AMD both design cards to throttle before reaching damaging levels, so spikes near the limit aren’t automatically dangerous. But if your new cooler runs hotter than the old one, stop and recheck mounting pressure and paste coverage.
Common Mistakes to Avoid During the Swap
We’ve collected the classic blunders so you can dodge them:
- Forgetting the PCIe release tab and yanking the card out
- Using too much thermal paste, which spills onto nearby parts
- Tightening one screw fully before the others, bending the board
- Losing tiny screws inside the case (they love hiding)
- Skipping the temperature test and closing the case too early
When Replacing the Cooler Makes Sense (and When It Doesn’t)
A swap shines when your card is out of warranty, loud as a jet engine, or running hot despite clean dust filters. It’s also a great move for older cards where replacement fans are no longer sold separately.
Sometimes it doesn’t pencil out, though. If your card is under warranty, opening it will likely void that coverage. And if a brand-new cooler costs more than half the price of a newer card, upgrading might be the smarter path. Do the quick math before committing. If upgrading wins the math, our guide to buying a newer card helps you pick the right replacement.
Final Checklist Before You Close the Case
Run through this quick list and you’re home free:
- All cooler screws tightened in a crisscross pattern
- Every fan cable reconnected to the correct header
- No stray paste on components around the die
- Power cables fully seated in the GPU
- Temperatures checked under load for at least 15 minutes
- Case side panel back on, and not one screw left in the tray
That’s it. Take a sip of coffee, admire your quieter rig, and enjoy those lower temps. You earned it.
Conclusion
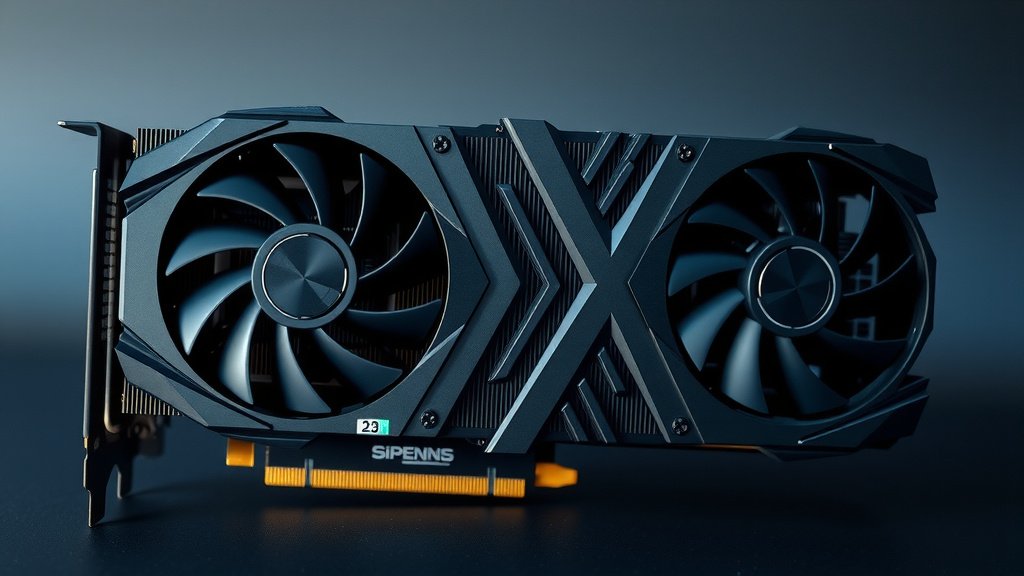
Replacing a GPU cooler comes down to patience and preparation. Gather your tools first, loosen screws evenly, clean the paste off properly, and test your temps before sealing the case. Those four habits are the difference between a cooler swap that works and one that sends you back to YouTube at midnight. We found that most problems come from rushing, not from a lack of skill. Take your time, photograph the wiring, and trust the process. Ready to start? Pick up a tube of quality thermal paste and double-check your replacement cooler’s compatibility list today. Your ears and your GPU will thank you.
Frequently Asked Questions
Will replacing my GPU cooler void my warranty?
In most cases, yes. Opening the card and removing the stock cooler typically voids the manufacturer’s coverage. Some brands have started offering warranties that survive cooler swaps, so check your manufacturer’s policy before you grab that screwdriver.
How much does it cost to replace a GPU cooler?
Aftermarket coolers usually run between $30 and $150 depending on your card model, plus a few dollars for thermal paste. We found that older or less popular cards sometimes have no compatible coolers available at all, so confirm availability before planning your swap.
Can I replace just the GPU fans instead of the whole cooler?
Sometimes. If your fans are the only problem, replacement fans are often cheaper and easier to install than a full cooler. Check whether your card’s fans are sold separately or if you’ll need to salvage them from donor cards.
How long does a GPU cooler replacement take?
Most first-timers finish in about an hour, including removing the card and testing temps. If you’ve done it before, expect closer to 30 minutes. Rushing is what turns a one-hour job into an all-evening repair job, so budget extra time for your first attempt.
Why is my GPU running hotter after installing a new cooler?
Nine times out of ten, it’s mounting pressure or paste coverage. Loosen the screws and retighten them in a crisscross pattern, making sure the cooler sits flat against the die. If temps stay high, check that fan cables are plugged into the right headers and that the fans actually spin under load.