
How to Use a GPU Riser Cable: A Step-by-Step Guide
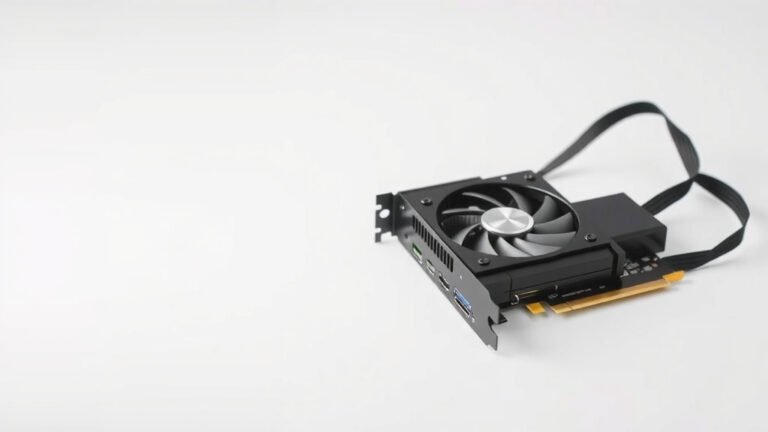
To use a GPU riser cable, plug one end into your graphics card and the other into the PCIe slot on your motherboard, then mount the GPU wherever you want it to sit. That’s really the core of it. The cable simply extends the PCIe connection so your card can sit vertically or away from the motherboard.
Why bother? A vertical GPU mount looks great in a case with a glass side panel, and a riser can also help with tight spaces or better airflow. Before you buy, we found you should check that the cable matches your PCIe version, since a PCIe 4.0 riser matters for newer cards. Get the wrong one, and you might see random crashes that make you question your life choices.
- A riser cable extends your GPU away from the motherboard.
- Match the cable to your PCIe 3.0 or 4.0 slot.
- Seat both ends firmly to avoid display issues.
- Route the cable with gentle bends — don’t crease it.
- Test your setup before closing up the case.
Below, we walk through every step in plain English, from picking the right cable to mounting your card safely. Let’s get your GPU sitting pretty.
Setting Up a GPU Riser Cable Step by Step
Installing a riser cable takes about 20 minutes if you go slow and stay gentle with the hardware. We found the biggest mistakes happen when people rush. Think of it like planting a seedling — firm, not forceful. If you’re new to working inside a case, our guide to installing a graphics card covers the basics first.
Step 1: Power Down and Unplug Everything
Shut down your PC and flip the power supply switch off. Unplug the wall cord, then hold the power button for ten seconds. That drains leftover charge so you don’t zap anything.
Work on a hard table, not carpet. Static electricity loves to ruin a good afternoon.
Step 2: Remove Your Current GPU
Unscrew the bracket at the back of the case and press the PCIe slot’s release tab. The card pops up with a gentle wiggle. If it fights you, the tab probably isn’t pressed all the way down.
Step 3: Connect the Riser to the Motherboard
Plug the cable’s motherboard end into your top PCIe x16 slot. Push until the clip clicks. A half-seated connection is the number one cause of “my PC won’t boot” panic posts online.
Many manufacturers, including CableMod and Corsair, recommend reseating both ends twice before your first boot. It sounds paranoid, but it works.
Step 4: Attach the Riser Board to Your GPU
Most riser kits include a small circuit board attached to the cable. Slide it into the slot on the bottom of your graphics card. It should seat flush with no gaps.
Here’s a tip we found helpful: connect the riser to the GPU before mounting the card in the bracket. It’s much easier to work on a bench than inside a cramped case.
Step 5: Mount the GPU Vertically
Install your vertical mount bracket or the case’s built-in holder. Screw the GPU’s bracket into place, then secure the other end of the card. Many cards sag, so check for support if yours is long.
Step 6: Route the Cable
Run the cable in smooth, wide curves. Never fold it sharply — the traces inside can crack. We found that bends wider than a soda can are a safe rule of thumb.
Matching the Right Riser to Your Setup
Not all risers are equal, and this is where people get burned. The cable’s PCIe version must match or exceed your slot and card.
| Your Setup | Cable You Need | What Happens If Wrong |
|---|---|---|
| PCIe 3.0 slot, older GPU | 3.0 riser | Usually fine |
| PCIe 4.0 slot, RTX 3000/4000 or RX 6000/7000 | 4.0 riser | Crashes, black screens, or lower speed |
| PCIe 5.0 slot, newest GPUs | 4.0 riser often works at 4.0 speed | Set the slot to Gen 4 in BIOS |
Why Version Matching Matters So Much
PCIe 4.0 runs at double the speed of 3.0. A 3.0 cable carrying a 4.0 signal is like whispering across a loud room — the message gets garbled. Tom’s Hardware and multiple GPU makers have documented this exact failure mode, so it’s well established.
If you must use a 3.0 riser with a newer card, many motherboards let you force the slot to Gen 3 in BIOS. Performance loss is usually small on gaming cards, often just a few percent.
Cable Length and Case Fit
Measure before you buy. Most vertical mounts need a cable between 20 and 25 centimeters. Too short, and you’ll stretch it. Too long, and you’ll coil extra cable behind your motherboard tray like a sad snake.
Check your case too. Some cases need a separate bracket kit sold apart from the cable.
Troubleshooting Common Riser Problems
Issues usually fall into three buckets: no display, random crashes, or slow performance. Here’s how to handle each.
No Display After Installing the Riser
Reseat both ends first. Then confirm your monitor is plugged into the GPU, not the motherboard. It happens to the best of us.
If it still fails, try the GPU directly in the motherboard slot. If it works there, the riser is likely the problem.
Random Crashes or Artifacts
Drop the PCIe slot to Gen 3 in your BIOS and see if stability returns. If it does, your cable can’t handle Gen 4 speeds. Replace it with a proper 4.0-rated cable.
Performance Is Lower Than Expected
Run a free tool like GPU-Z and check what PCIe version the link is using. If it shows Gen 1, you may have a dirty or damaged contact. Clean the gold fingers with isopropyl alcohol and reseat everything.
Your Pre-Boot Checklist
Before you press that power button, run through this list:
- Both ends of the riser clicked fully into place.
- Power cables (8-pin or 12VHPWR) connected to the GPU. Unsure which connector your card needs? Our guide to connecting GPU power cables walks through each type.
- Monitor plugged into the graphics card ports.
- Cable bends are wide and gentle, no sharp kinks.
- GPU bracket screwed in and card supported.
- Power supply switch flipped back on.
Do Riser Cables Hurt Performance?
Short answer: a good cable costs you almost nothing. We found that a quality PCIe 4.0 riser typically shows a loss of 1% or less in gaming benchmarks. Cheap, uncertified cables are where the real trouble lives.
Spend the extra ten or fifteen dollars on a name-brand cable. Your frame rates, and your sanity, will thank you.
Final Handling Tips for Long-Term Reliability
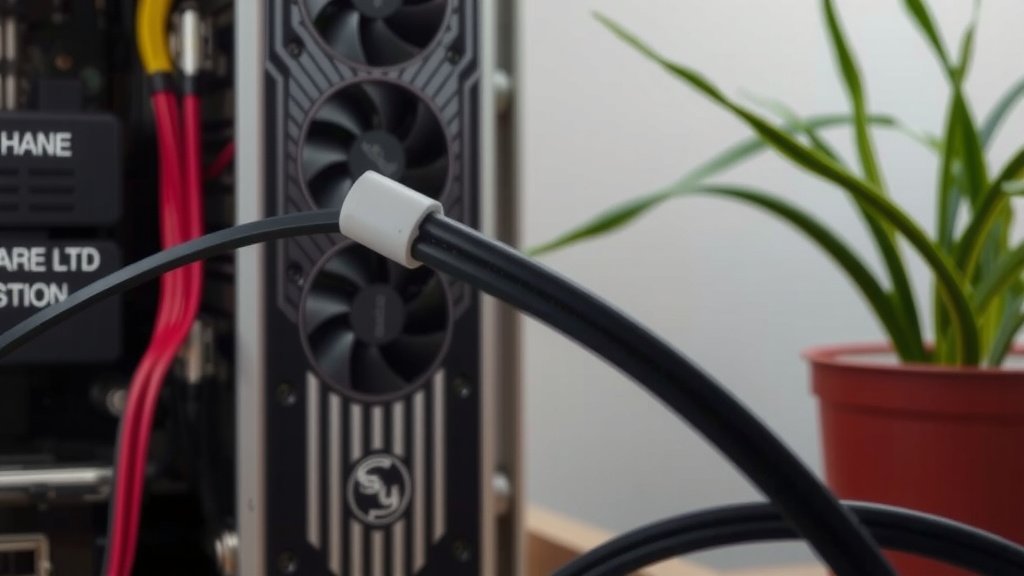
Treat the cable like a garden hose, not a phone charger. Gentle loops, no pinching, no yanking. Check it once a year if you move your PC often.
And one last thing: keep the cable away from hot spots near VRMs or power supplies. Heat and tight bends together are the enemy of any ribbon-style cable. A little planning now saves you a teardown later.
Conclusion
You’ve got everything you need now. Pick a cable that matches your PCIe version, seat both ends until they click, and keep those bends wide and gentle. Test your setup before you button up the case, and don’t cheap out on the cable itself — a few extra dollars saves you hours of crash-hunting later. We found the whole job usually takes under 30 minutes, even for first-timers. Your reward is a cleaner build, better airflow, and a GPU that looks fantastic behind glass. So grab your screwdriver, double-check that checklist one more time, and give your graphics card the showcase seat it deserves.
Frequently Asked Questions
Can I use a GPU riser cable for mining rigs?
You can, and many mining setups rely on them to space multiple cards apart. Just know that long mining sessions put constant load on the cable, so pick a name-brand one rated for your PCIe version. We also recommend securing the cards firmly so the connectors never flex under strain.
Does a riser cable void my GPU warranty?
Generally, no. Using a riser doesn’t modify the card itself, and manufacturers don’t typically deny coverage for it. That said, if a third-party riser board physically damages your card’s slot, that damage may not be covered. Keep the riser from a reputable brand to reduce that risk.
Can I use a PCIe 3.0 riser with a PCIe 4.0 GPU?
Yes, but expect the link to drop to Gen 3 speeds unless your motherboard lets you adjust it. In our research, most gaming cards lose only a small amount of performance at Gen 3, often a few percent. If you want full speed and stability, buy a 4.0-rated cable instead.
Do riser cables work with ITX builds and small cases?
They do, and that’s actually where they shine. Some small cases are designed around risers, letting the GPU lie flat or sit parallel to the motherboard. Measure your available space carefully and buy the shortest cable that reaches without stretching.
How long do GPU riser cables last?
A quality riser should last the life of your build if you treat it well. The weak points are the connectors and the ribbon itself, so avoid repeated insertions, sharp bends, and heat exposure. We suggest a quick visual check whenever you open your case for cleaning.